
At a glance
Quick project summary
Location
Newport VIC
Project type
Pre-Sale Property Restoration
Services delivered
- Exterior Painting
- Interior Painting
- Weatherboard Repairs
- Window Repairs
- Door Restoration
- Door Hardware Replacement
- Bathroom Vanity Installation
- Plaster Repairs
- Concrete Painting
- Bluestone Path Installation
- Floor Sanding & Natural Finish
- General Property Maintenance
12
Services delivered
8
Project stages
100%
Interior & exterior
On time
Delivered to listing date
Background
The story
This Newport home had been lived in, added to and looked after by the same family for years. It carried the marks that come with that — timber that had weathered through a couple of decades of bay wind and salt air, paintwork that had done its job and then some, hardware that had been replaced piecemeal over time, and a front path that had quietly given up.
The owners were downsizing and wanted the property presenting at its absolute best before it went to market. The brief was never simply “paint the house”. It was to lift every visible surface, resolve the small defects a buyer notices without being able to name them, and do it in a way that kept the character of the home intact rather than flattening it into something anonymous.
That distinction shaped the whole programme. Repairs came before coatings. Original timber was retained and made good wherever it was sound. Hardware was upgraded as a set rather than patched. And the entire schedule was built backwards from the agent’s photography date — the works were completed within the required deadline, so the property could be listed on schedule.
Buyers rarely list what is wrong with a home. They just feel that it has been looked after — or that it hasn’t.
Stage 01
Exterior restoration
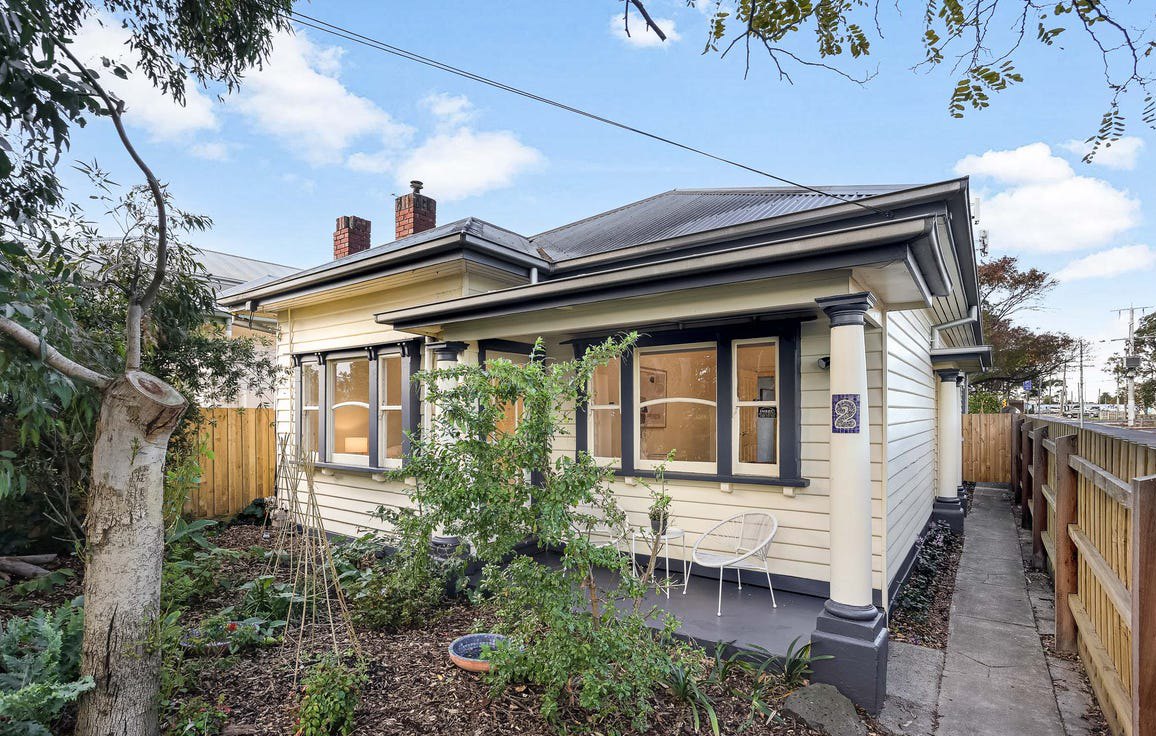
The exterior sets the first impression, and on a weatherboard home in Newport it also takes the hardest beating. Salt-laden wind off the bay works into every open joint and end grain. Before any coating went near the house, every board, sill, fascia and window was assessed by hand — tapping for soft timber, checking movement at the joins and pulling back anything that had lost its bond.
Weatherboard repairs
- Damaged and rotted boards cut out and replaced with matching profile
- Loose boards refixed and nail holes punched below the surface
- Open joints and gaps filled with flexible exterior filler
- Sanded back to a uniform surface, feathering repairs into sound paint
- Bare and repaired timber spot-primed, end grain sealed
- Two full finish coats of exterior acrylic applied
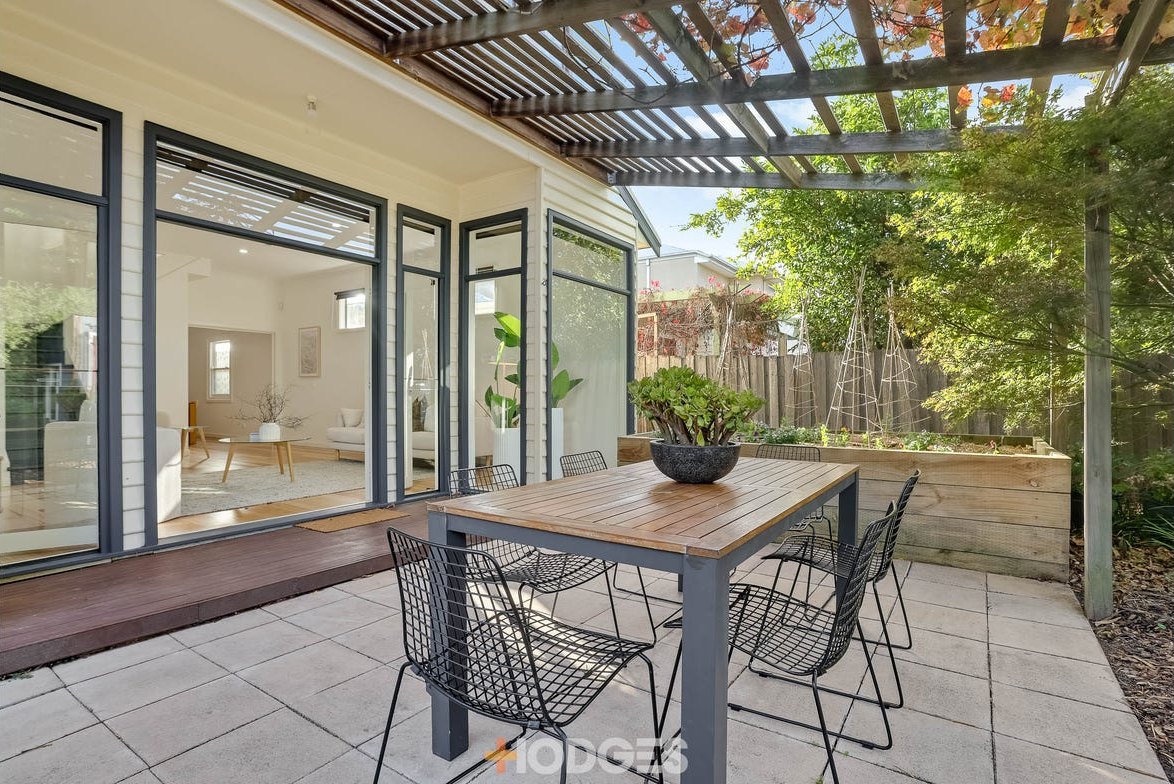
Windows, fascia & trim
- Failed putty raked out and replaced, glazing beads refixed
- Sashes eased where swollen so windows operate properly again
- Fascia and barge boards scraped, filled and re-coated
- Exterior trim and thresholds cut in by brush for clean lines
- Full wash down and mask up before finish coats
Why it mattered
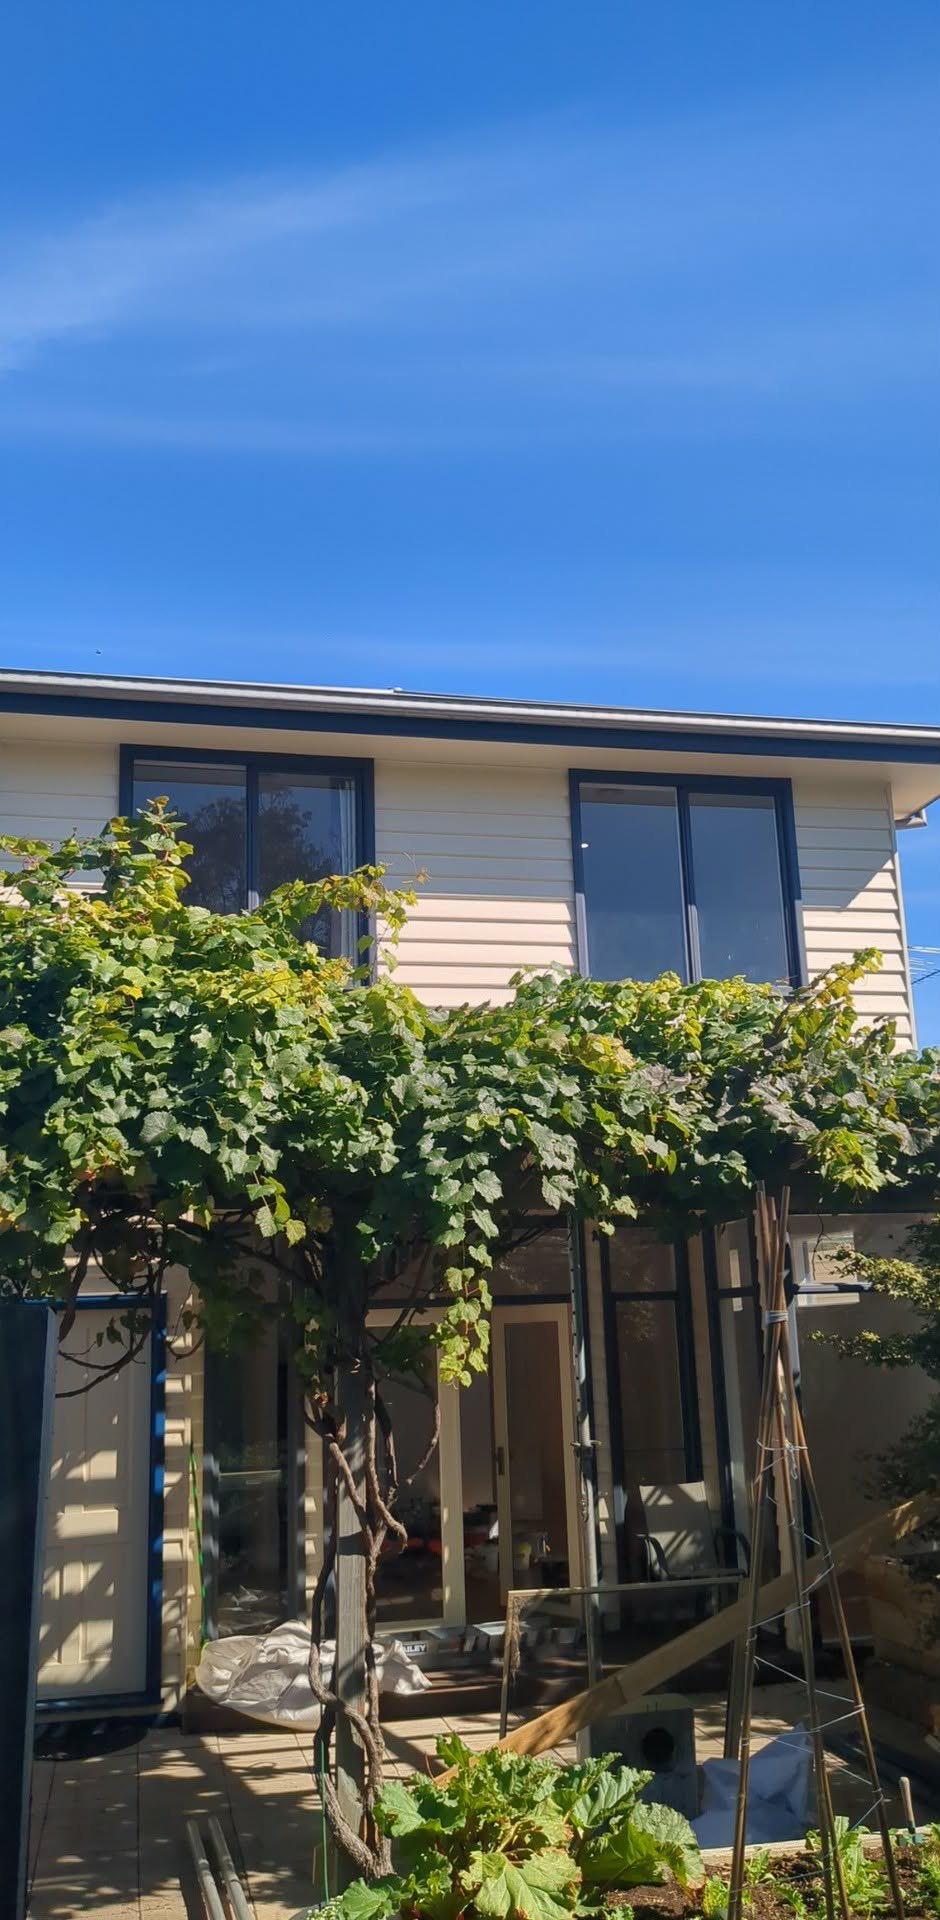
Coating over moving or damaged timber buys a season, not a decade. By repairing first and sealing every exposed edge, the new paint system is protecting the house rather than disguising it — something a building inspection will confirm rather than contradict. Related work: exterior painting and carpentry & timber repairs.
Stage 02
Interior painting
Inside, the whole home was brought back to a single, consistent finish — ceilings, walls, architraves, skirting boards, window frames and internal doors. Consistency is what reads as “freshly presented” in listing photographs; mismatched sheens and touch-up patches read as the opposite.
Preparation
- Surfaces washed down to remove years of airborne grease and dust
- Nail holes, dents and hairline cracks filled and left to shrink back
- Second fill where needed, then sanded flush
- Bare and patched areas spot-primed for even absorption
- Full mask up, drop sheets and edge protection room by room
Coating system
- Ceilings coated in flat white to hide surface variation
- Walls in low-sheen for washability without highlighting flaws
- Architraves, skirting, window frames and doors in oil-based enamel
- Two finish coats throughout, with a light sand between coats on timber
- Cut-in by brush at every ceiling, corner and trim junction
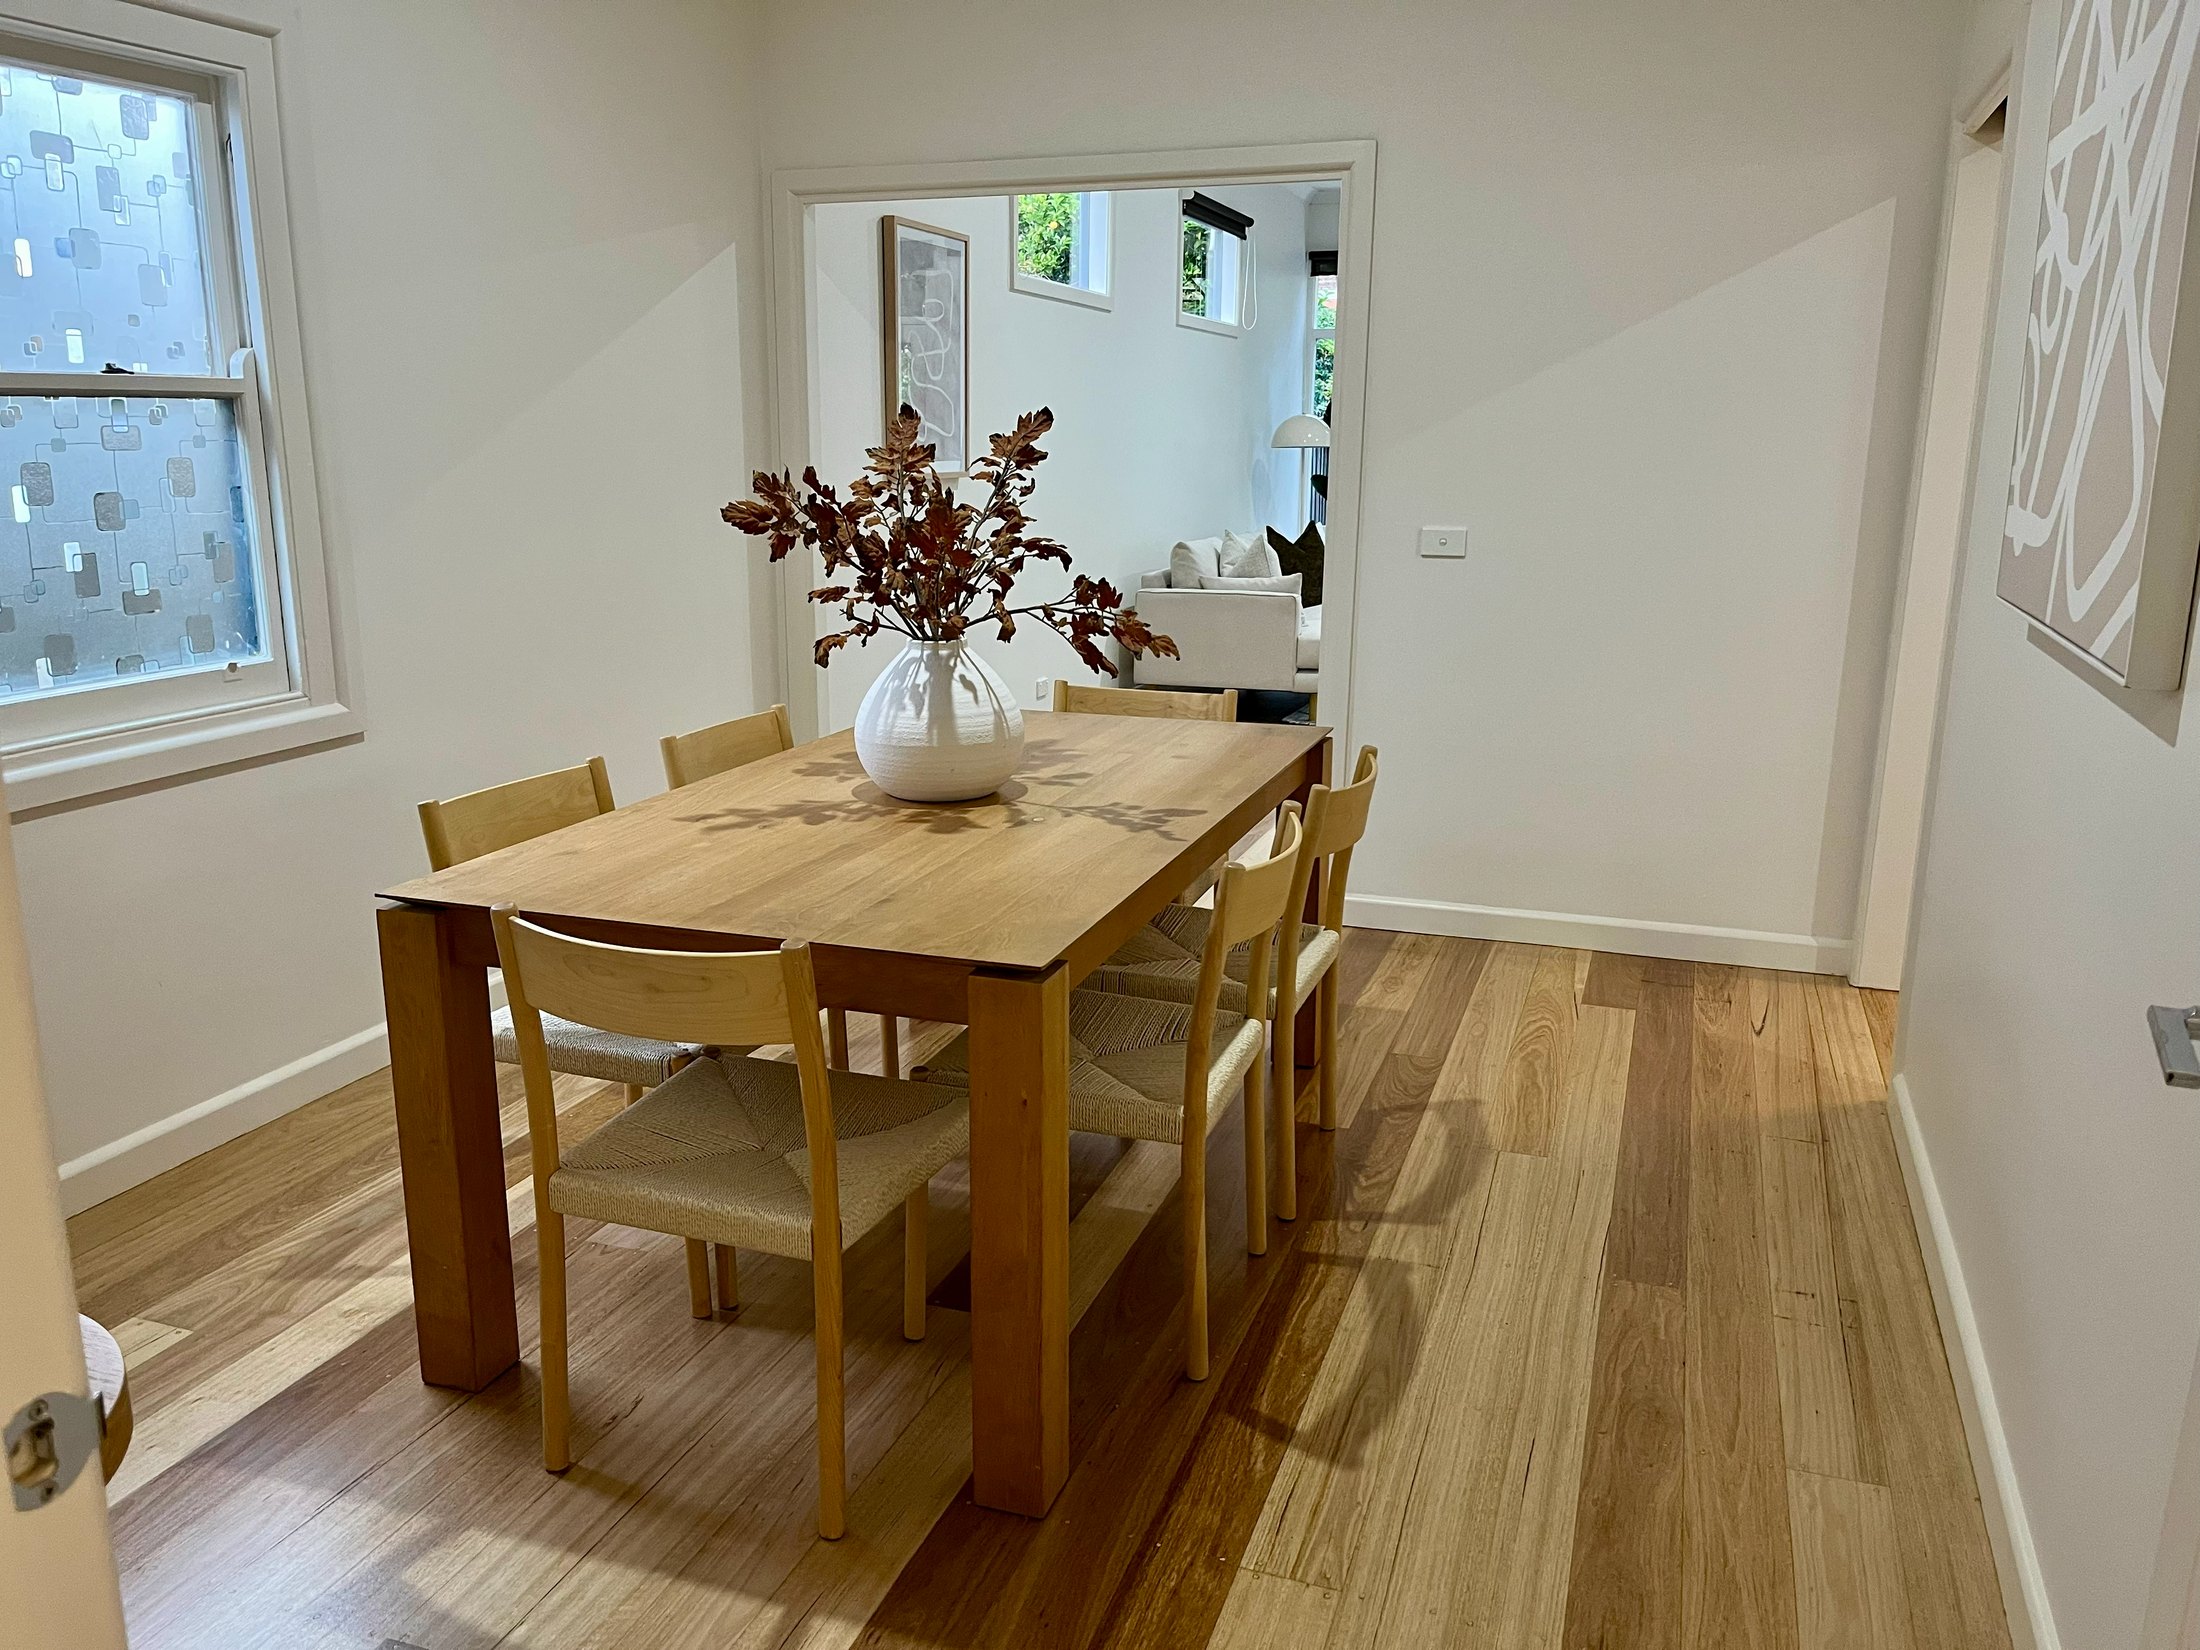
See how we approach interior painting on other Melbourne homes, and heritage restoration where original detailing needs a lighter touch.
Stage 03
Staircase restoration
The staircase sits in the middle of the home and is visible from the entry, the living area and the landing above, so it sets the tone for everything around it. The existing timber treads and risers had worn through in the traffic line and the balustrade, stringer and surrounding walls had picked up years of scuffing.
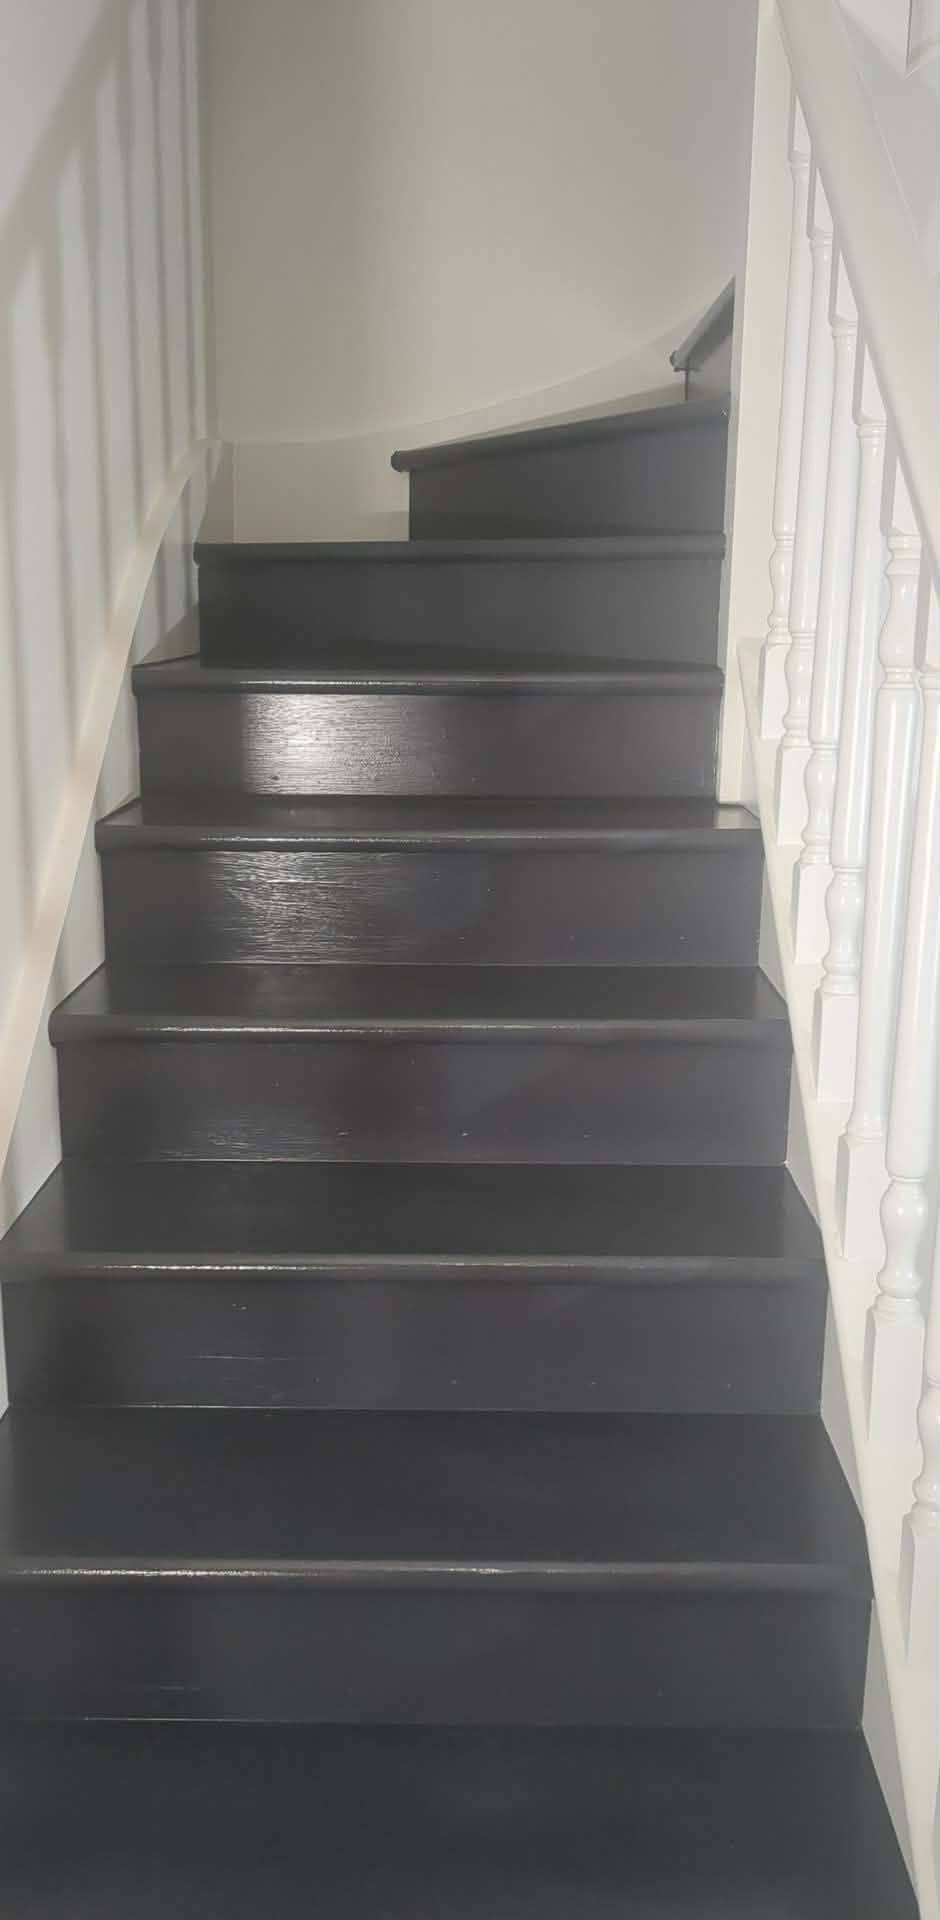
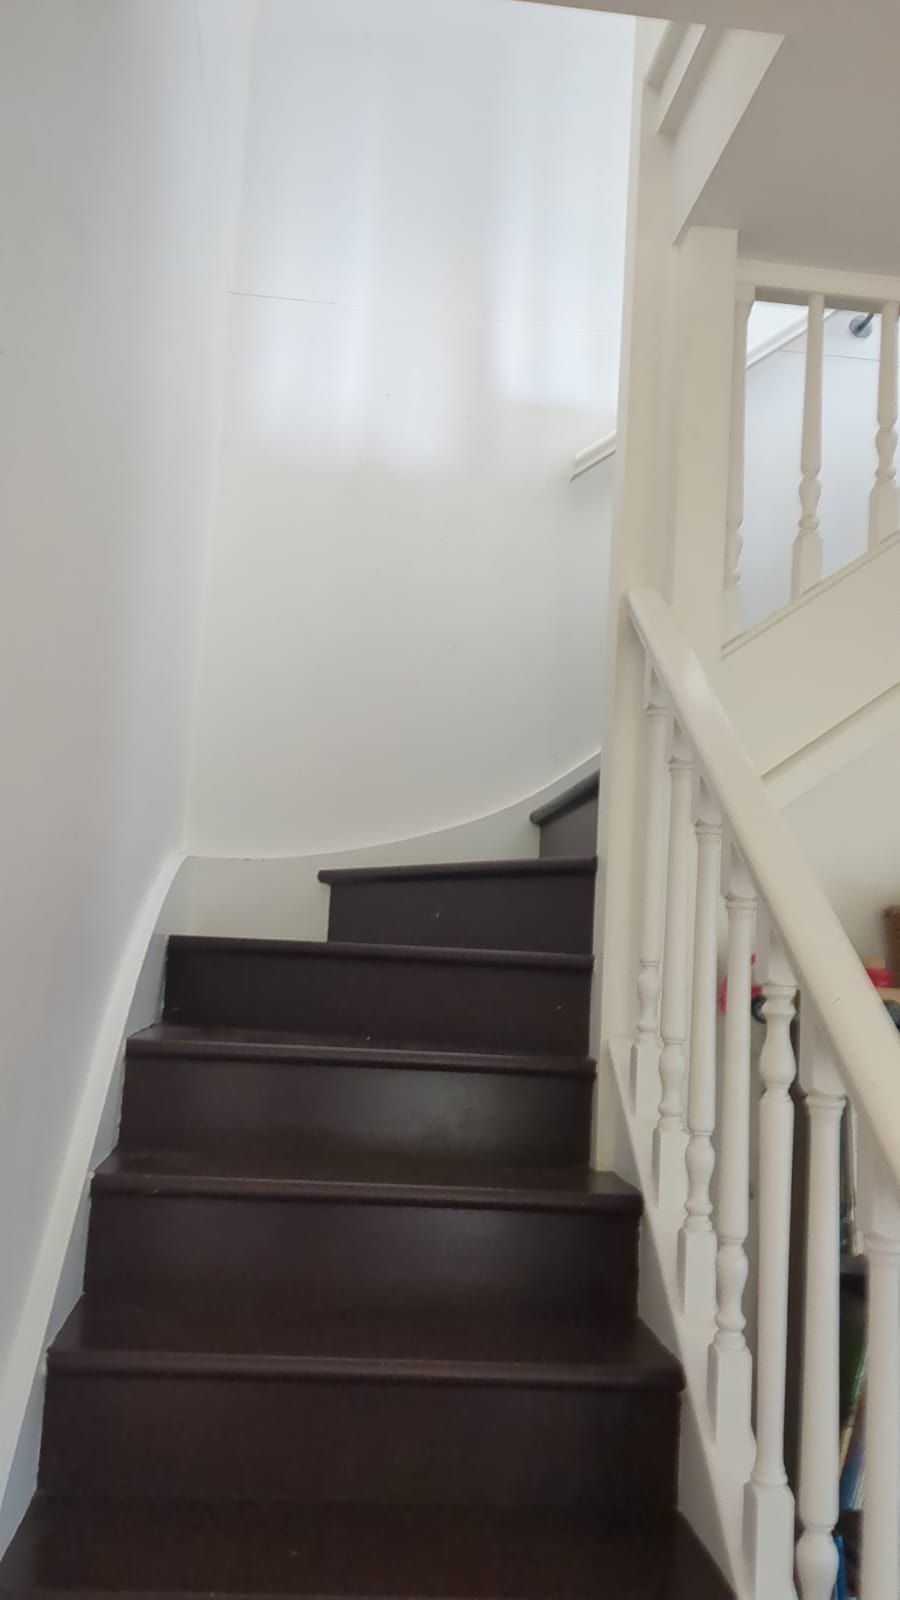
The staircase before and after — treads and risers in a deep enamel, balustrade, stringer and surrounding walls brought back to a clean white.
Preparation & finishing
- Treads, risers and stringer sanded back and de-glossed
- Splits, nail holes and worn edges filled and sanded flush
- Balustrade, newel post and handrail masked and cut in by brush
- Treads and risers finished in a hard-wearing deep enamel
- Balustrade and surrounding walls returned to a clean white
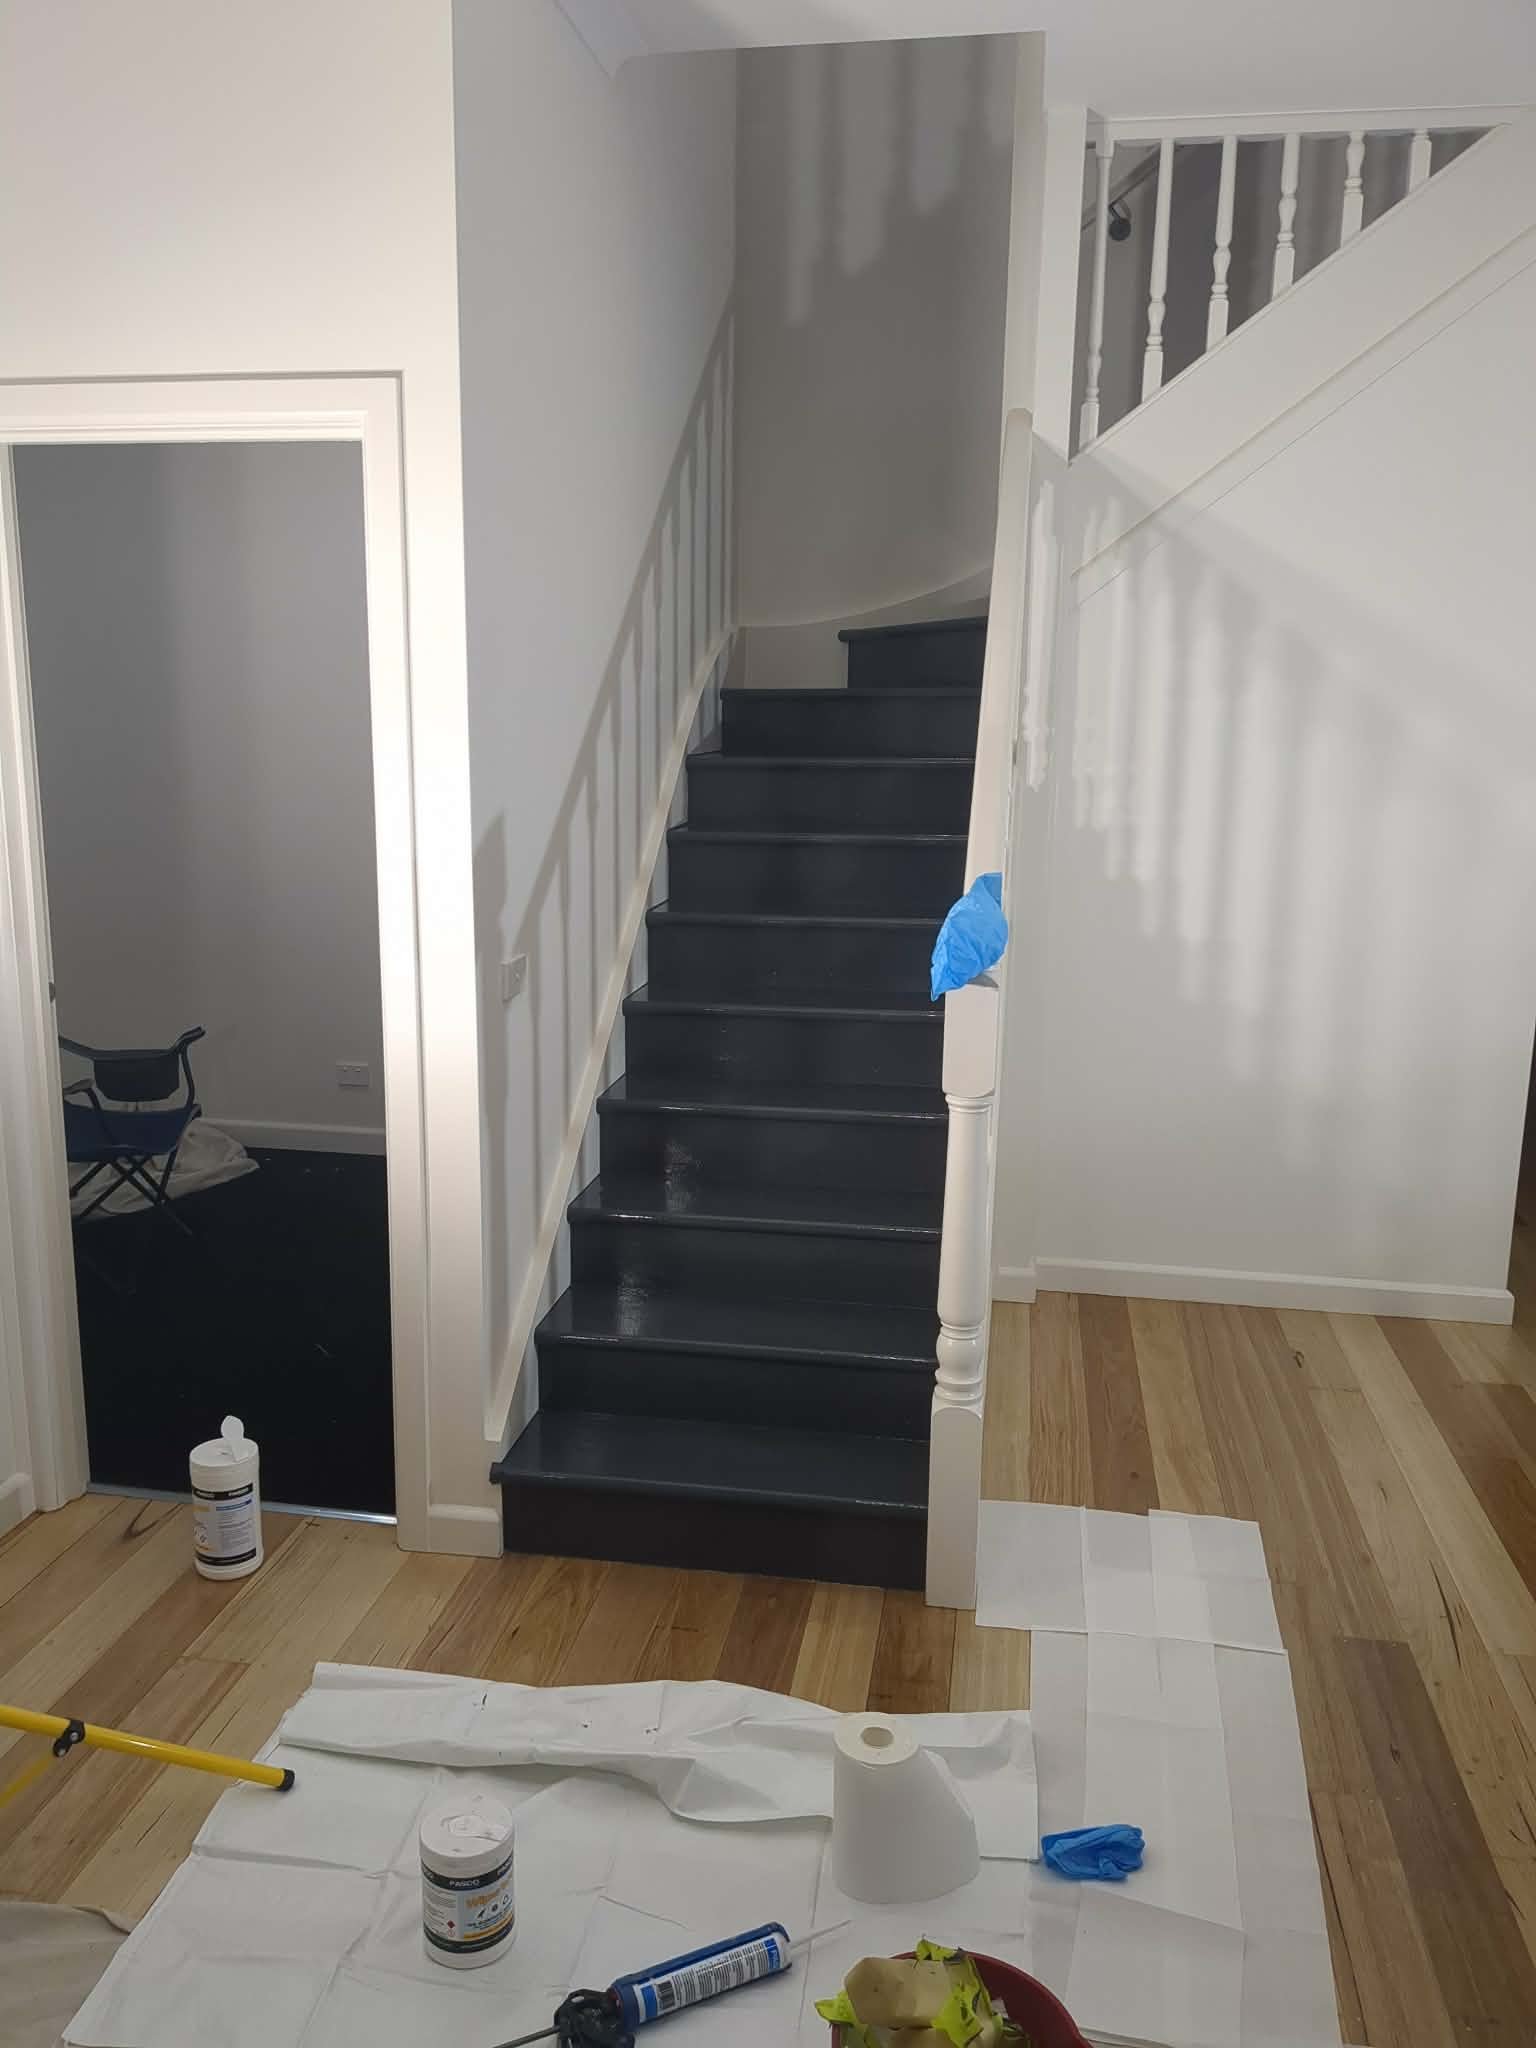
Stair work of this kind sits across painting and carpentry — the timber has to be sound before any coating goes near it.
Stage 04
Door restoration
Doors are touched by every person who walks through the home, which makes them one of the highest-value details in a pre-sale refresh. In this house the hardware had been changed over the years in a mix of styles and finishes, and the doors themselves carried the fixing holes of every previous set.
The process, door by door
- All existing hardware removed and doors taken off where practical
- Redundant fixing holes plugged and filled, then sanded flat
- Chips, dents and edge damage patched and feathered out
- Full prime over all filled and bare areas
- Repainted in oil-based enamel for a hard, level, brush-mark-free finish
- New premium hardware installed — handles, latches and strikes
- New hinges fitted so doors hang and close properly
- Hardware standardised throughout the home for one consistent modern finish
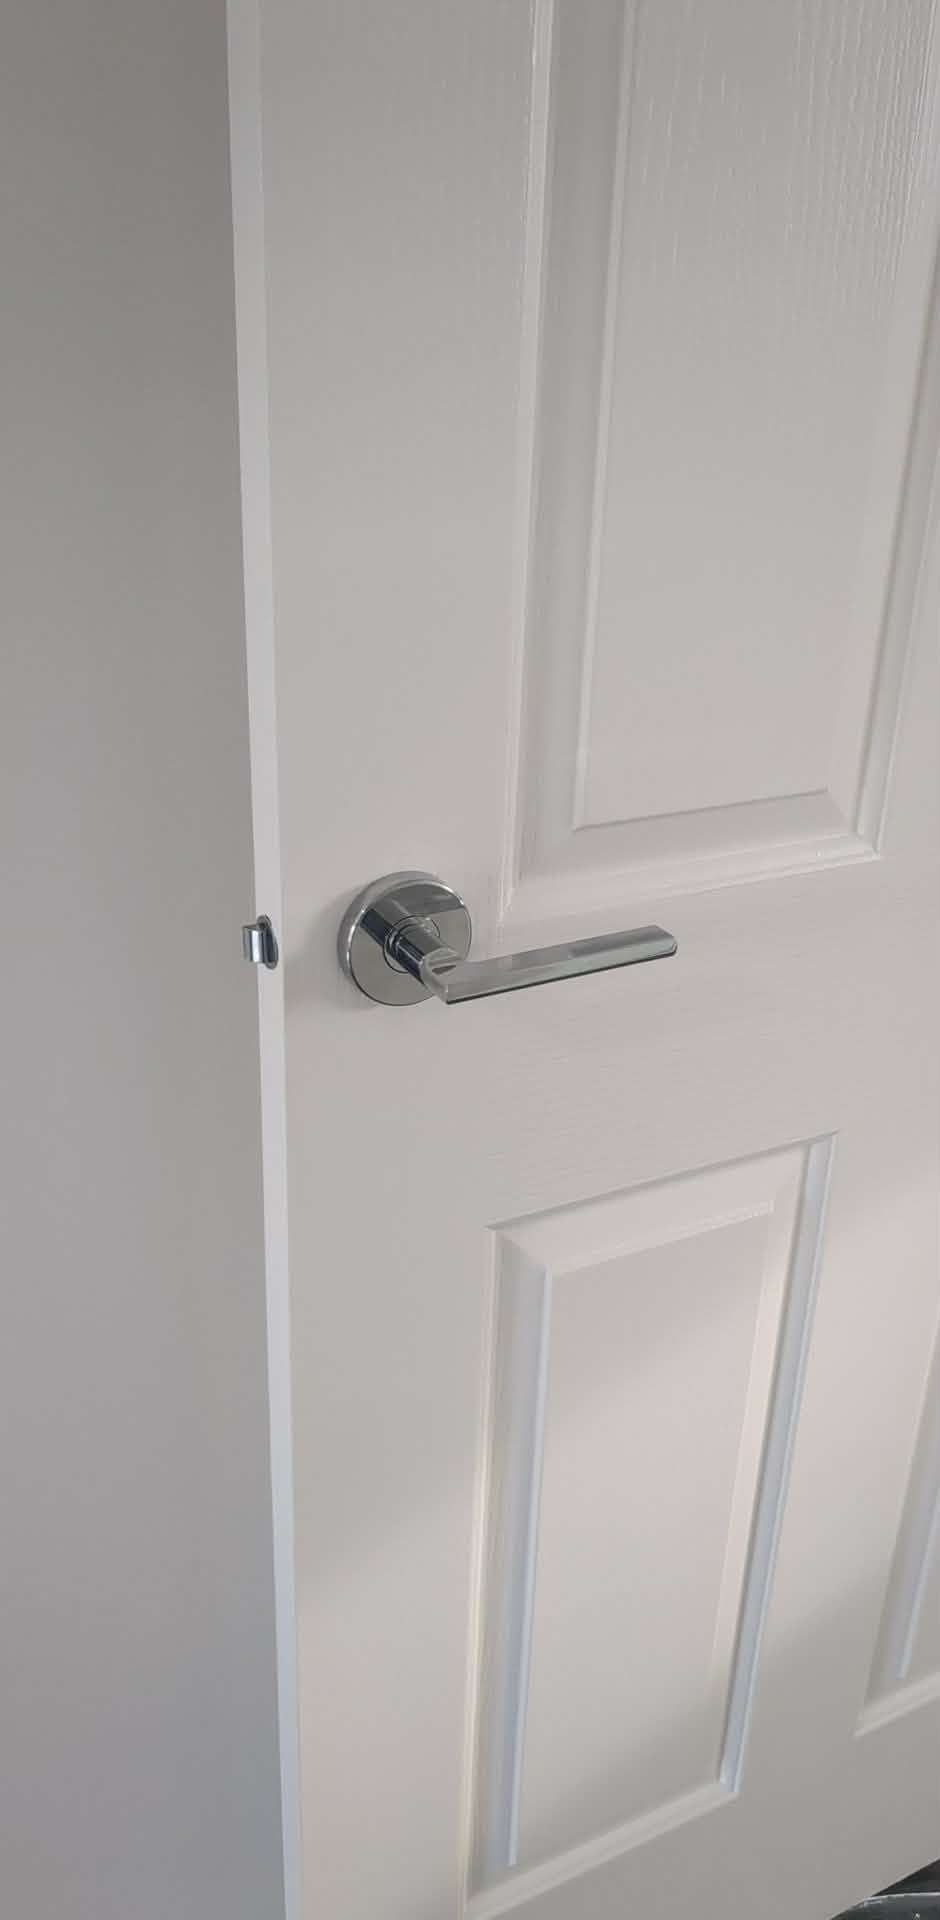
A level, hard-wearing finish
Enamel shows every flaw underneath it, so the filling and sanding stage decides how the door looks once it is hung back up. Getting that flat before a brush goes near it is what separates a repainted door from a restored one.
Why it mattered
Matching hardware across every door is a small spend that reads as a whole-house upgrade. Combined with doors that shut cleanly on new hinges, it removes a set of tiny irritations buyers register without articulating.
Stage 05
Bathroom upgrade
Rather than a full strip-out, the bathroom was targeted where it counted. The dated vanity was removed, the wall and floor surfaces behind it made good, and a new vanity installed and connected. Finishing work, sealing and painting brought the room back to a clean, current presentation without the cost or timeline of a full renovation.
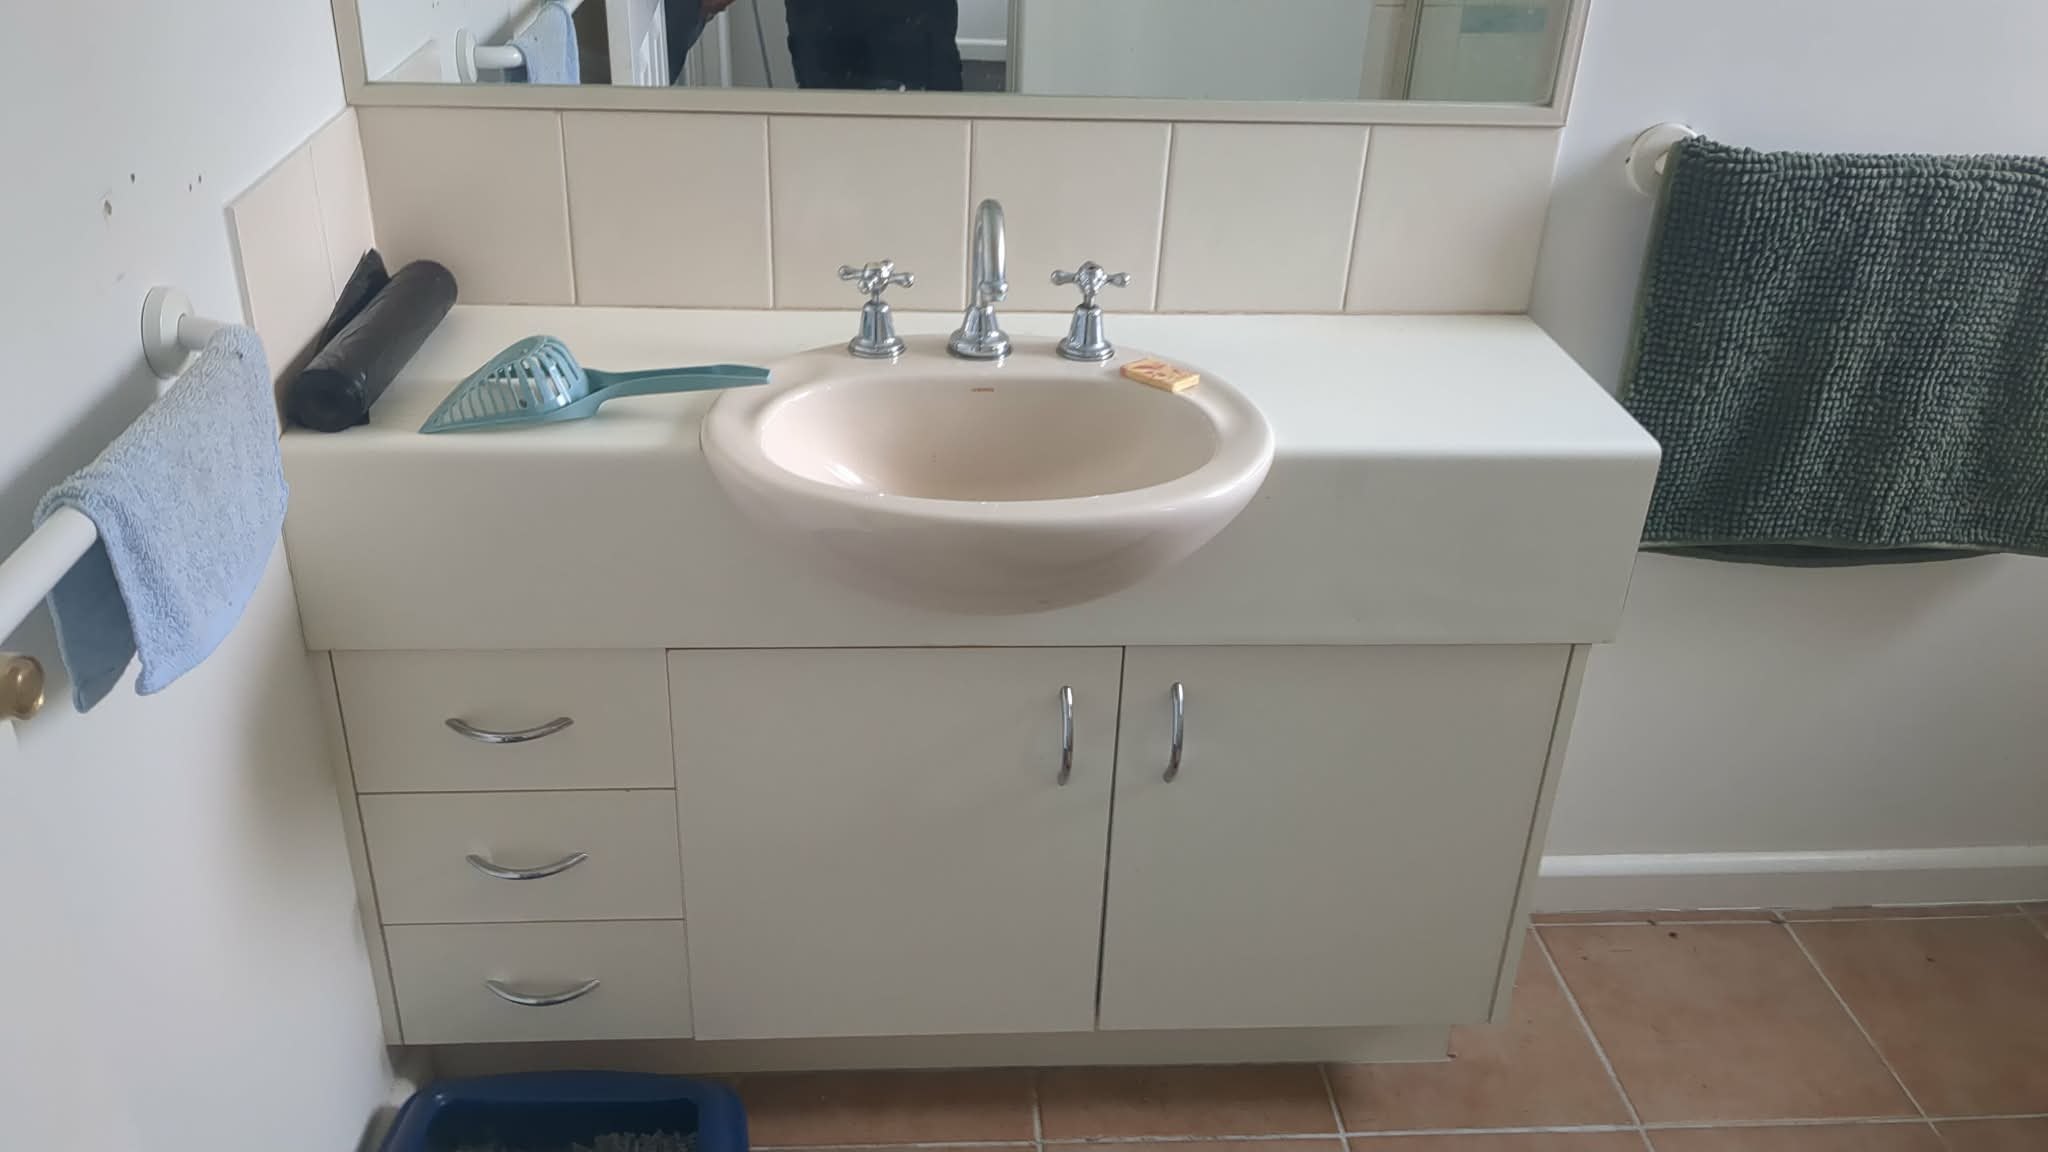
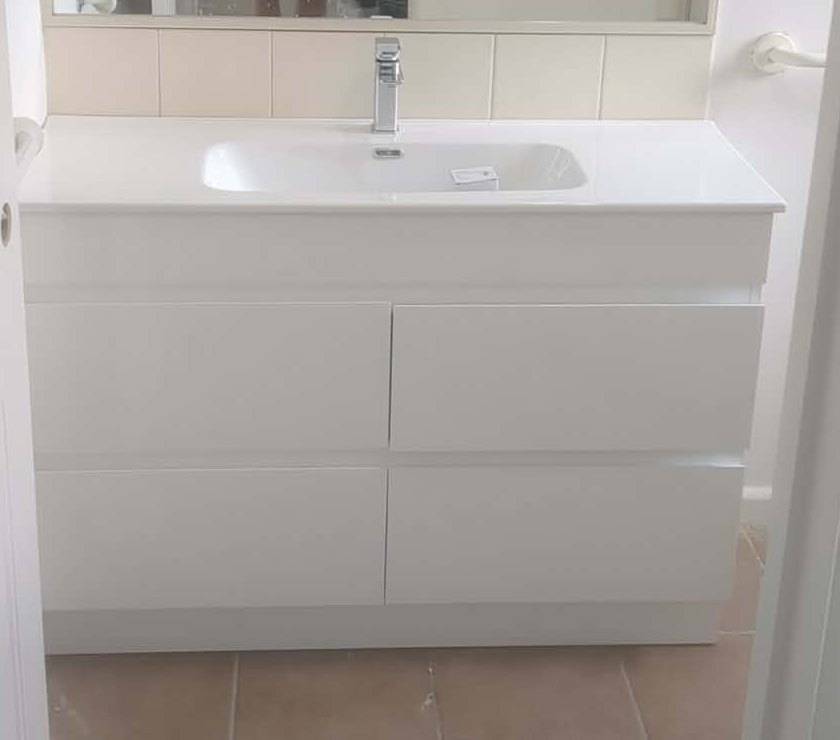
Targeted wet-area upgrades sit within our handyman & maintenance service.
Stage 06
Plaster repairs
Every crack in the home was assessed before it was filled. Settlement cracks were raked out to give the filler something to key into, cornice junctions were re-bedded where they had opened, and each repair was left to shrink before a second pass.
Repair sequence
- Cracks raked out and dusted so filler bonds rather than bridges
- Flexible filler applied in two passes with drying time between
- Sanded flush and checked in raking light for high or low spots
- Sealer-primed so the repair does not flash through the finish coat
- Painted out to the nearest natural break for an invisible repair
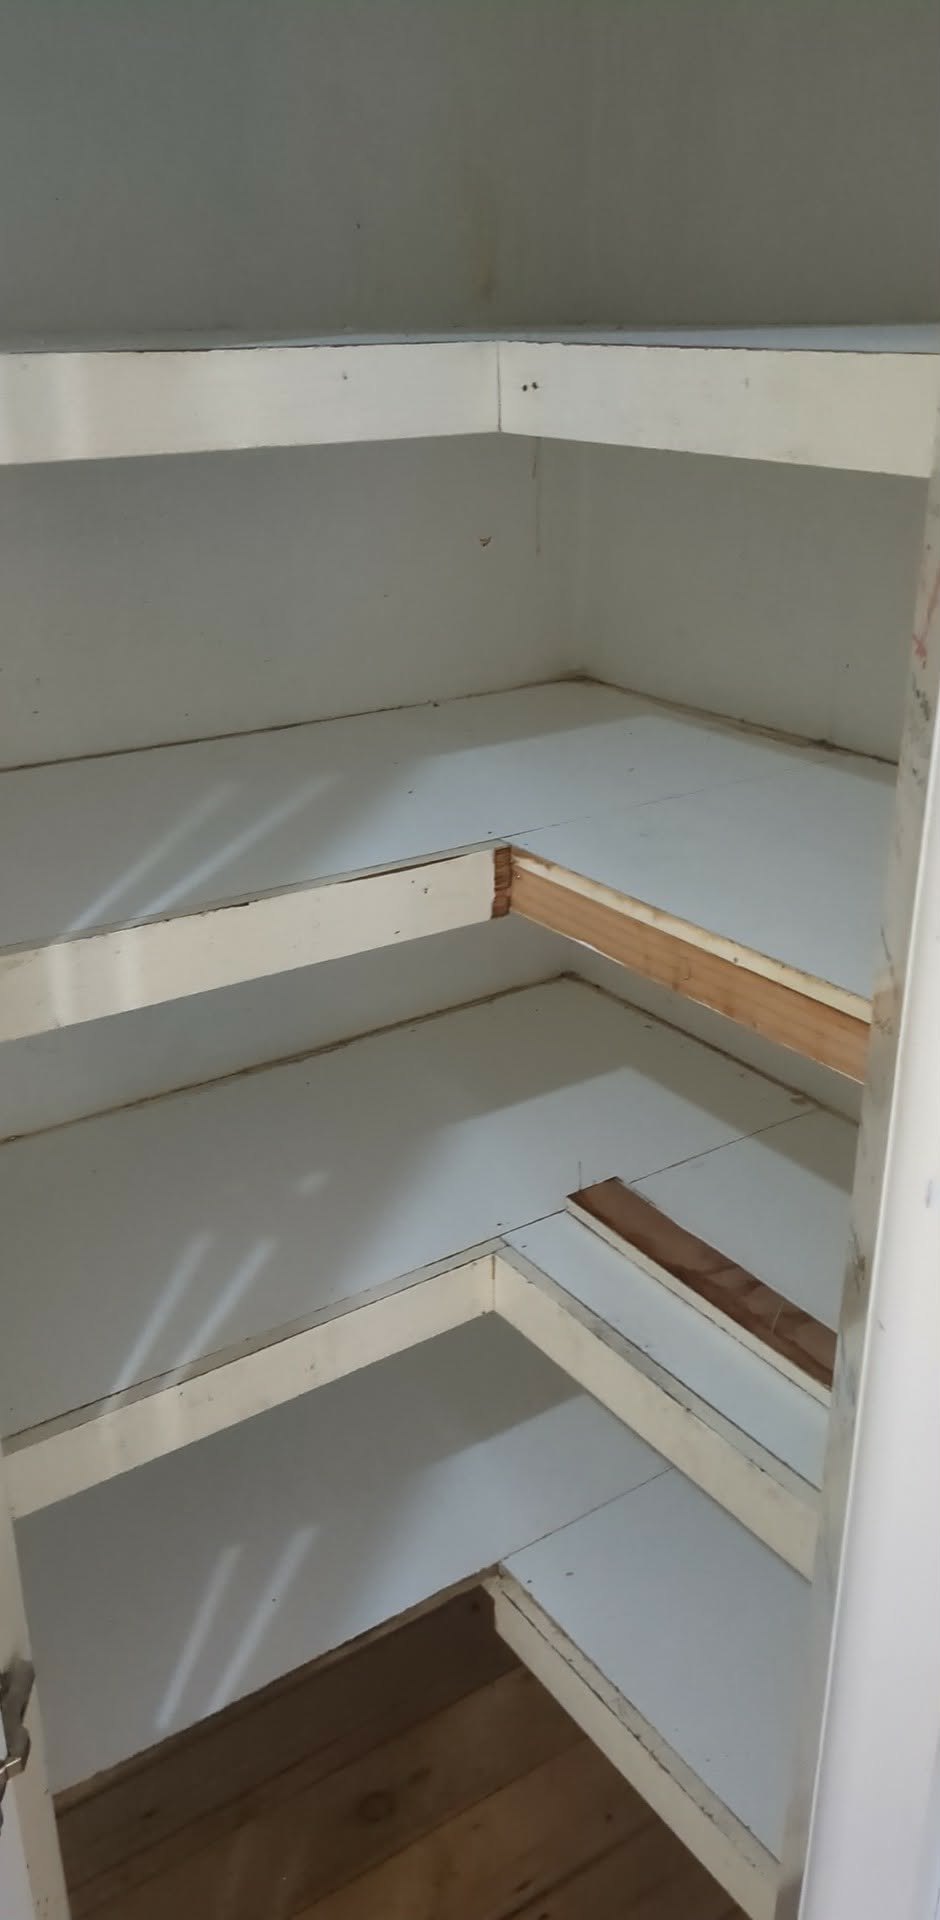
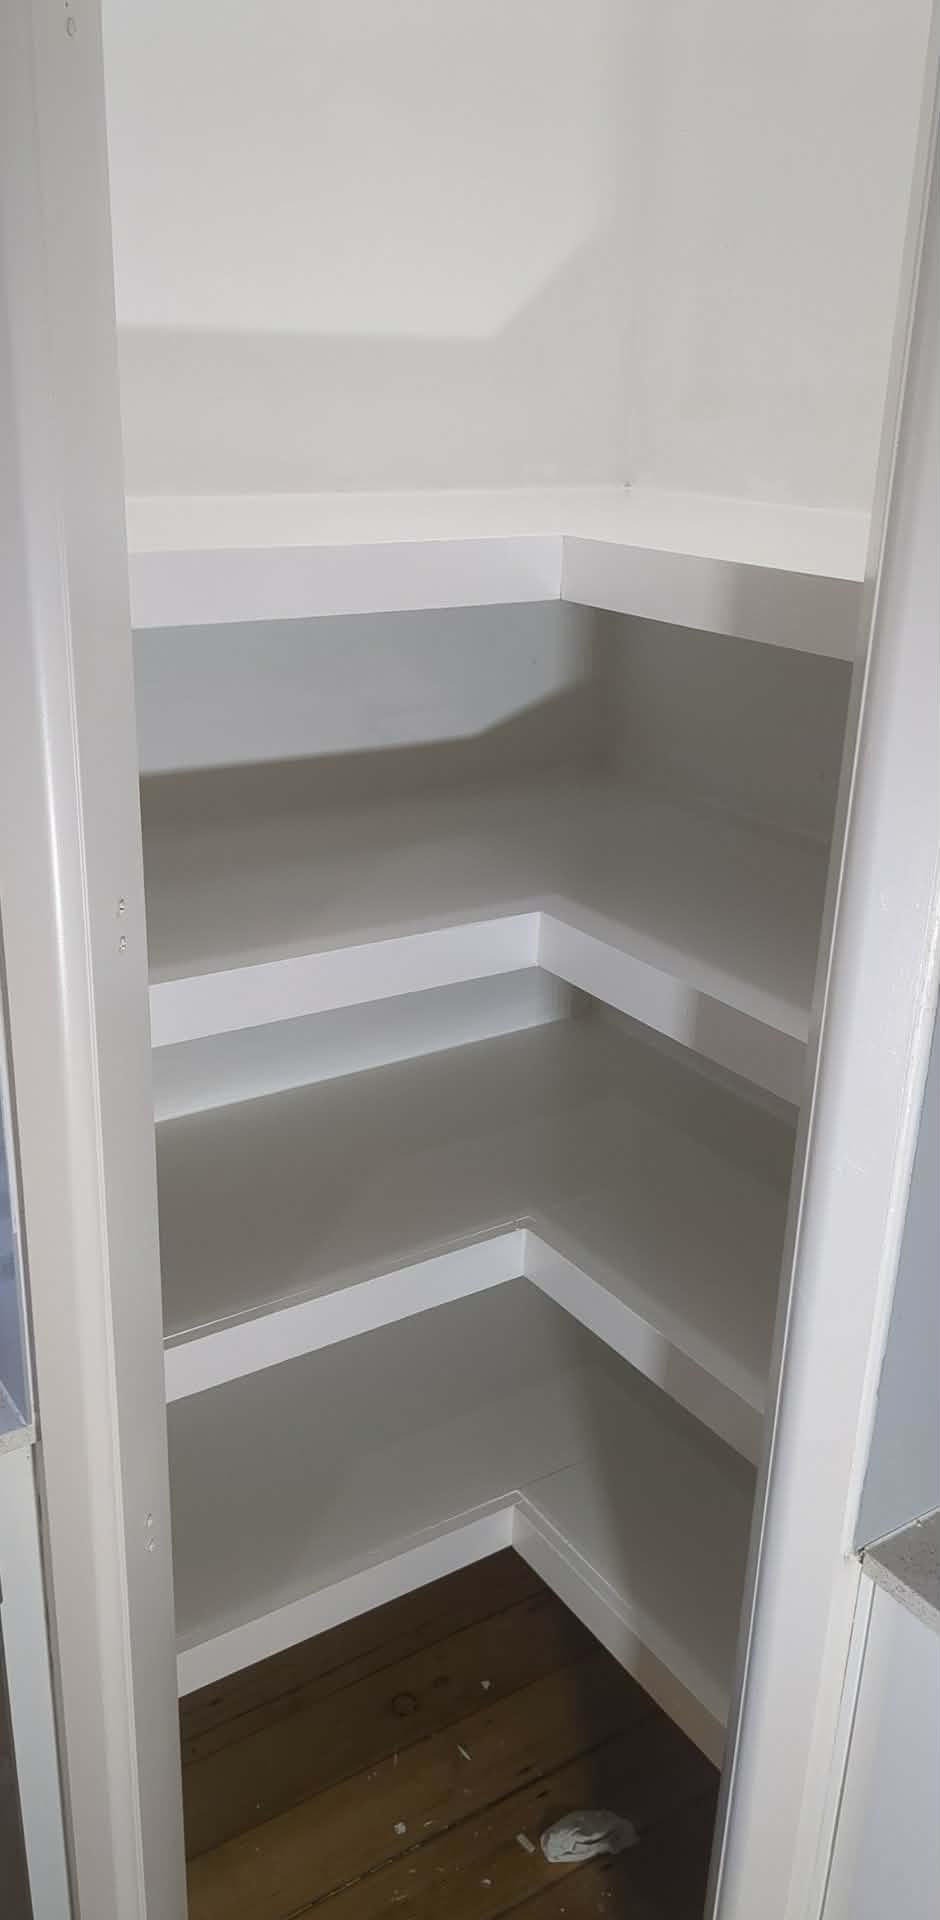
Skipping the sealer is the single most common reason a repaired crack reappears as a dull patch under the paint — the raw filler absorbs differently to the surrounding wall. More on this in our guide to plaster crack repair and our rendering & plastering service.
Stage 07
Concrete painting
Tired concrete drags down everything around it. The slab areas were cleaned back to a sound, contaminant-free surface, primed with a concrete-appropriate sealer and coated in a durable paving finish that ties the hard surfaces to the new exterior colour scheme.
Process
- Surface cleaned of dirt, moss, oil residue and loose material
- Surface allowed to dry fully — moisture is the usual cause of coating failure
- Concrete primer applied for adhesion into the porous surface
- Two coats of durable paving-grade coating rolled and cut in
- Edges detailed against garden beds and thresholds
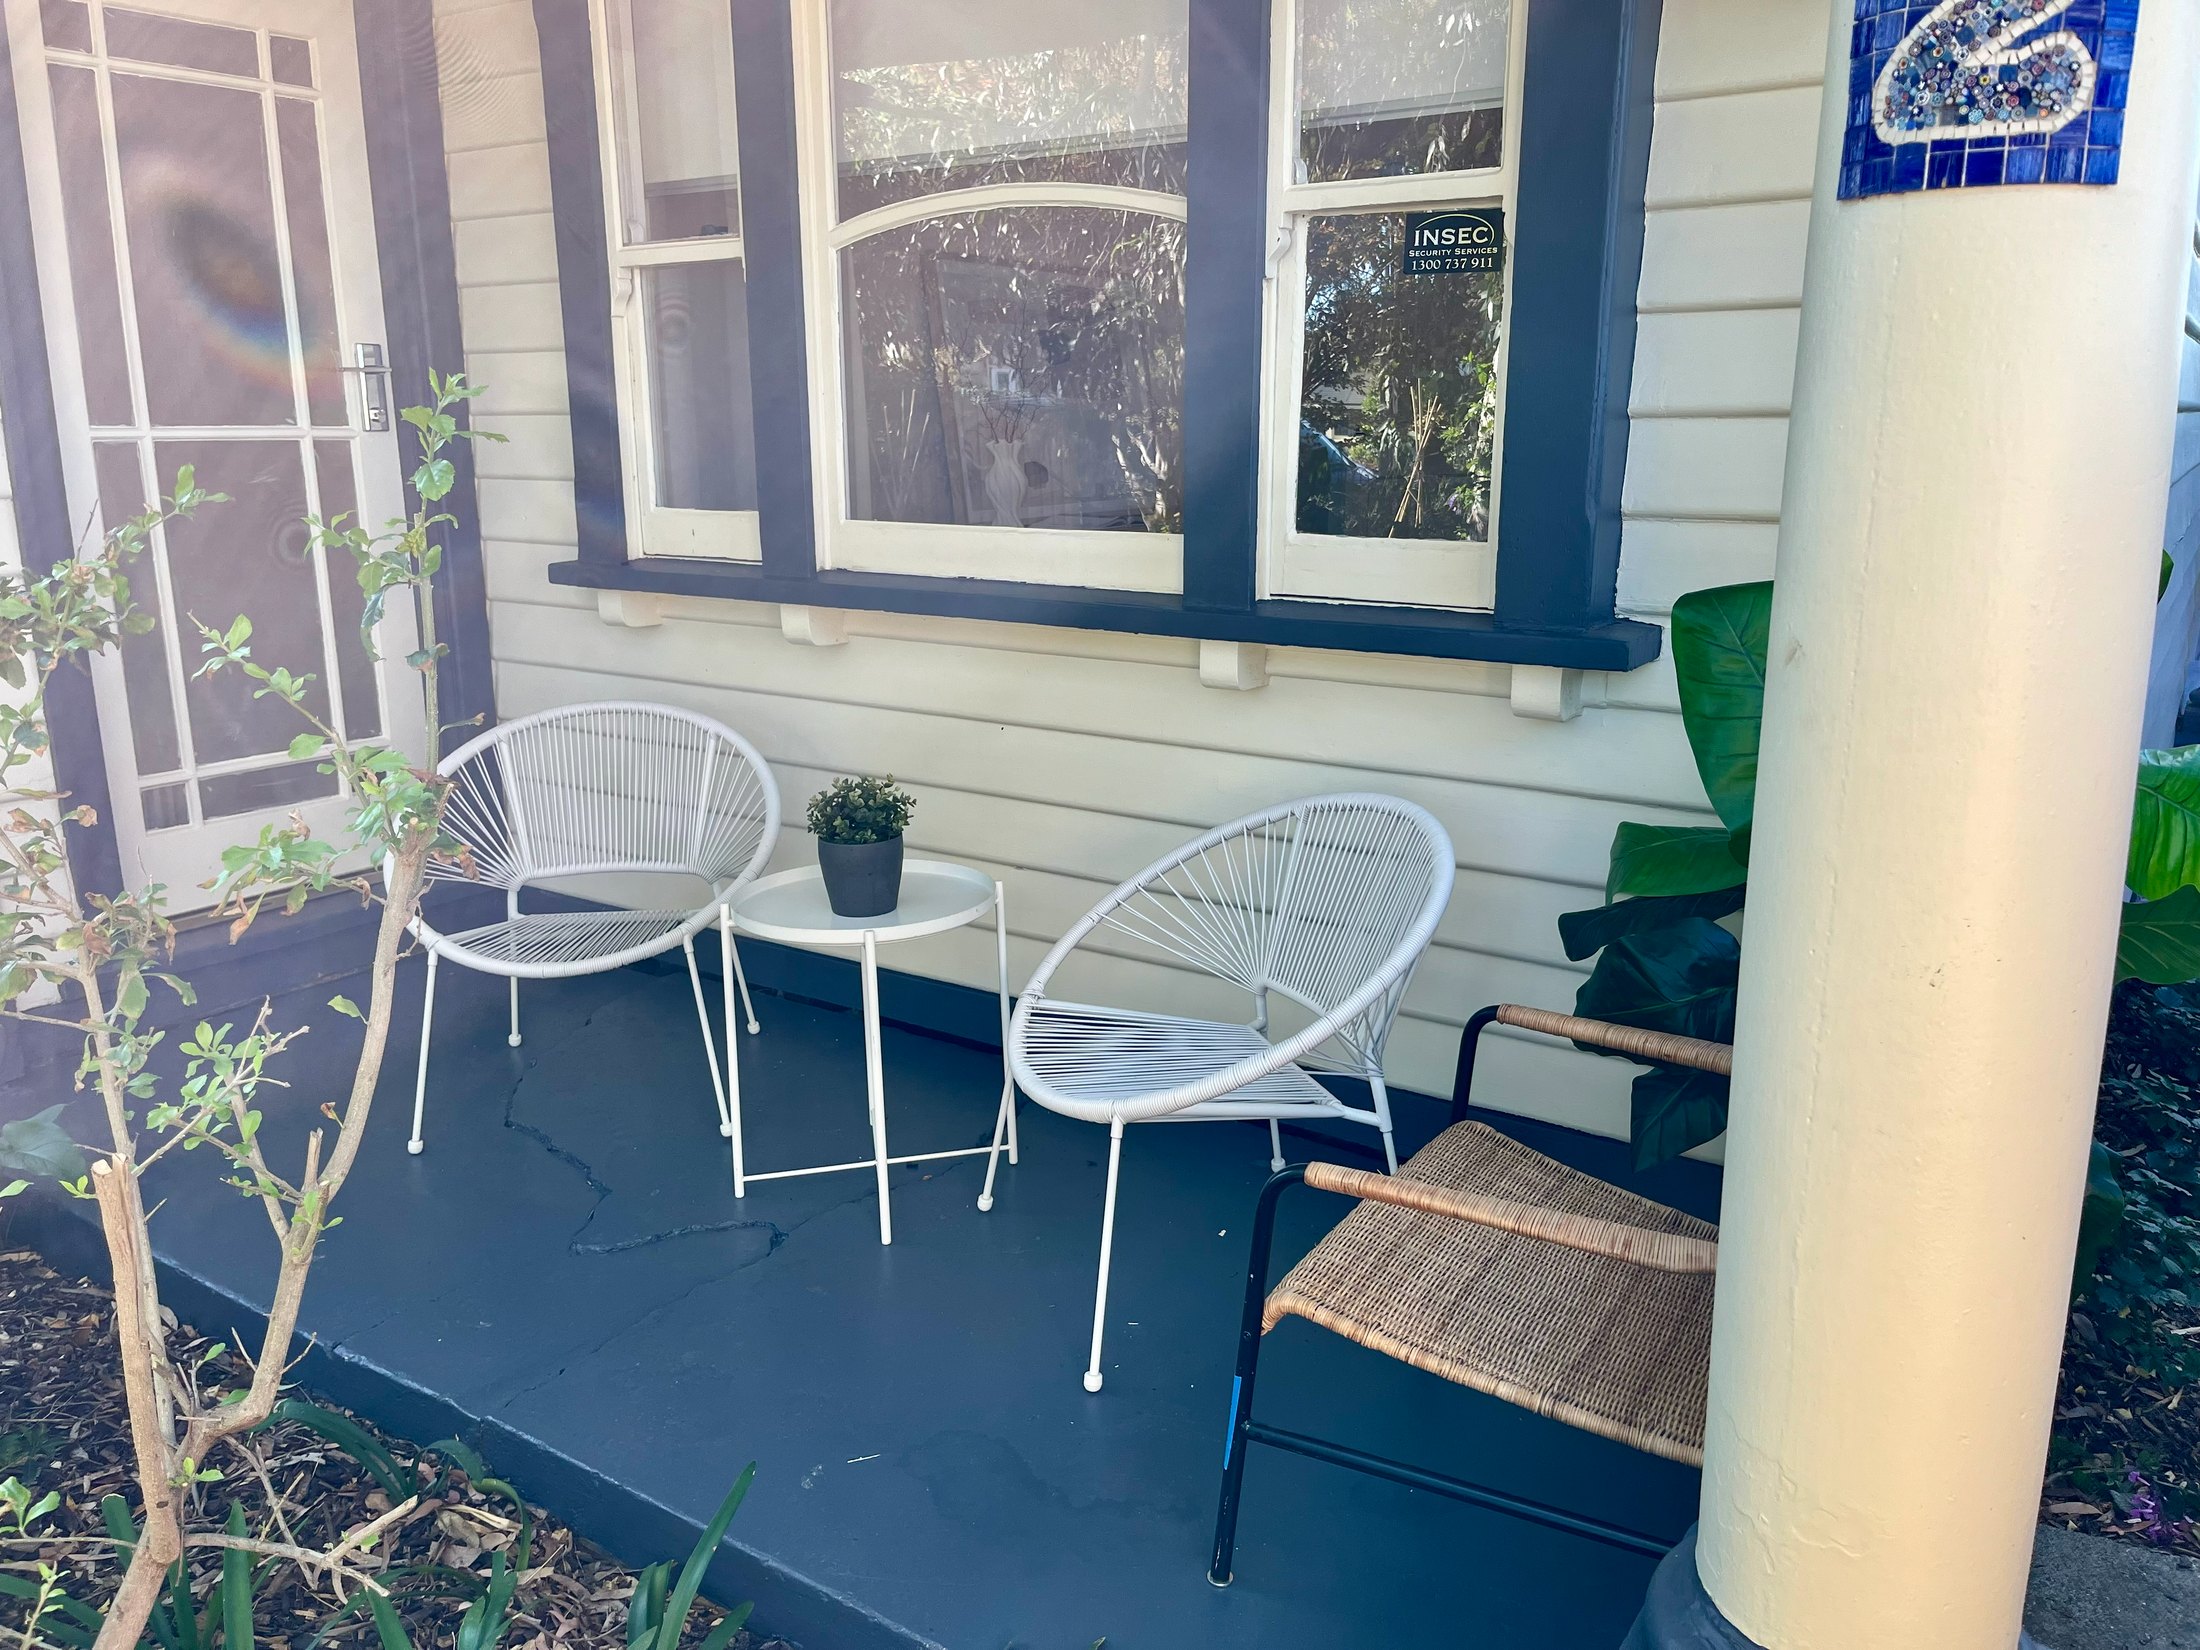
Preparation for coatings like this often starts with pressure washing.
Stage 08
Bluestone path installation
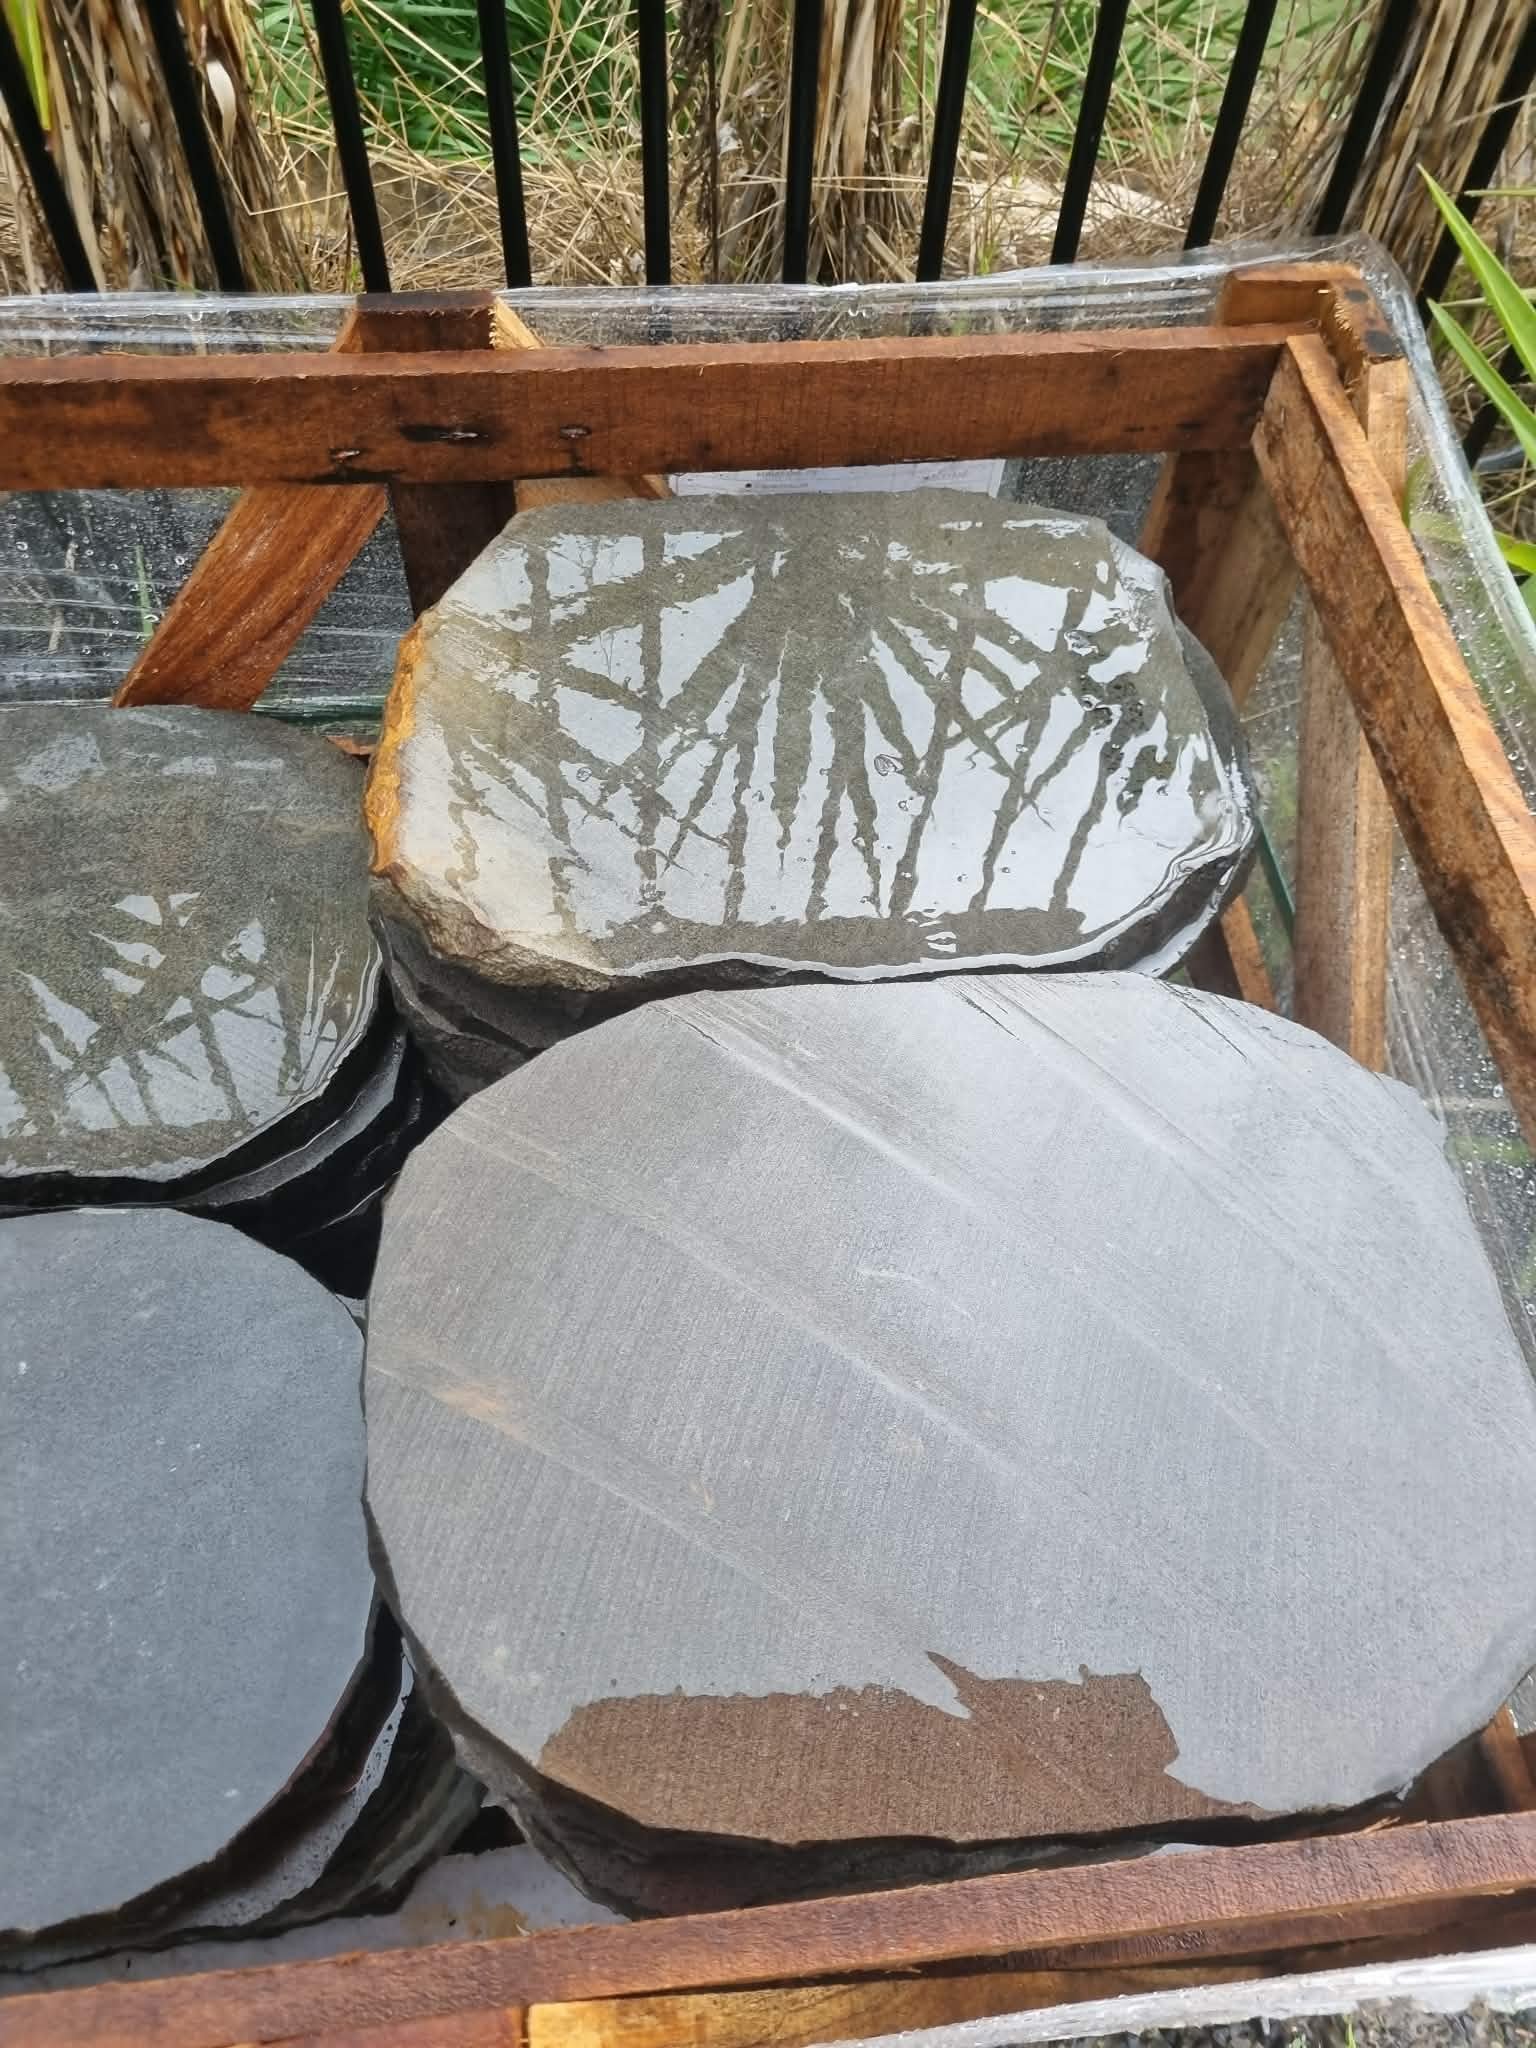
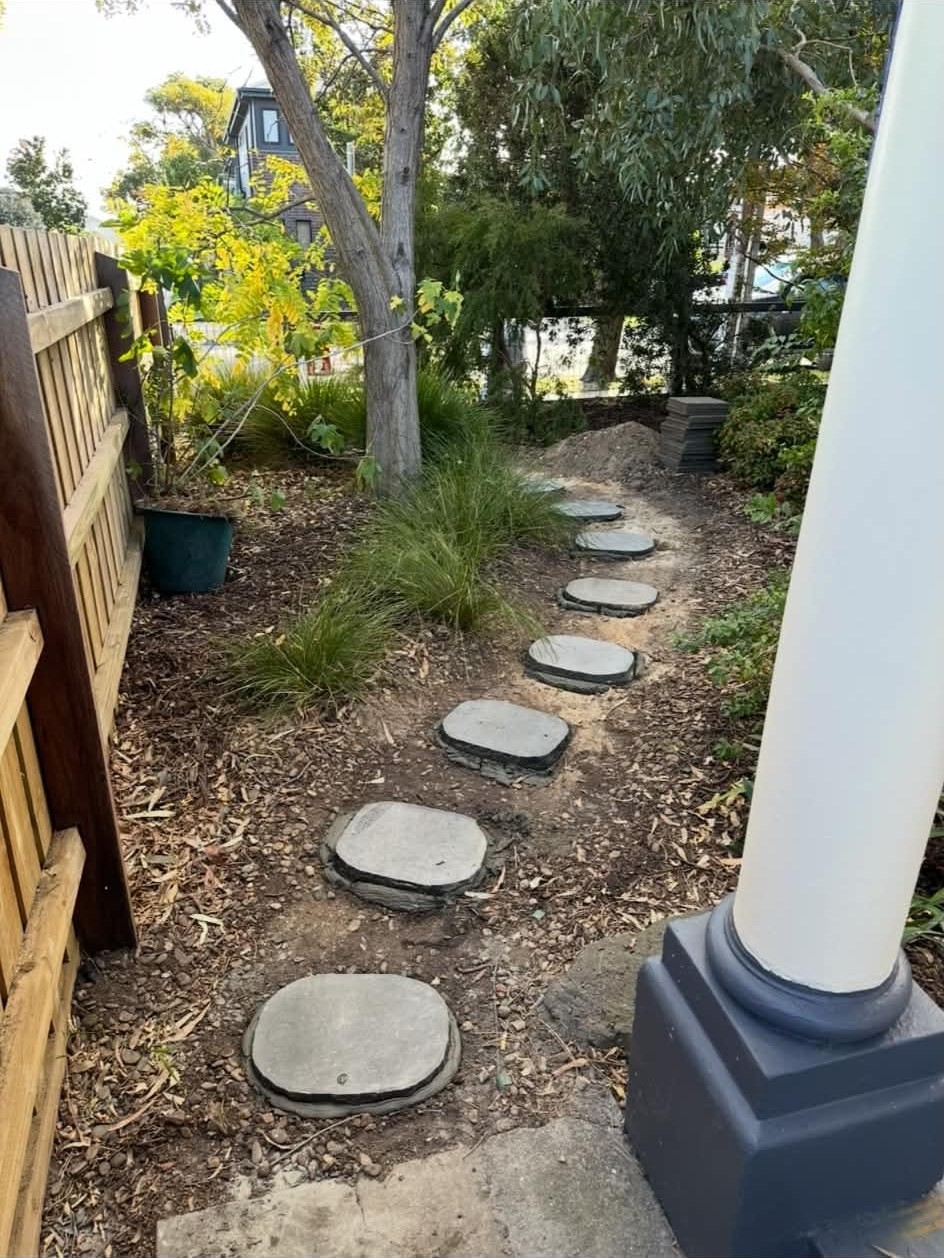
The original path had cracked, lifted and sunk in places — the first thing anyone walking to the front door had to negotiate. It was removed entirely and replaced with bluestone steppers, set level and evenly spaced from the gate to the entry.
Installation
- Tired existing pathway broken out and removed from site
- Base excavated, levelled and compacted
- Bluestone steppers set to a consistent line, spacing and fall
- Each stepper checked level and bedded firm underfoot
- Surrounds reinstated and tidied back to the garden edge
First impressions
A buyer forms an opinion between the car door and the front door. A level, well-set bluestone approach signals a maintained property before anyone has stepped inside — and bluestone is a material Melbourne buyers instinctively read as quality.
Stage 09
Timber floor restoration
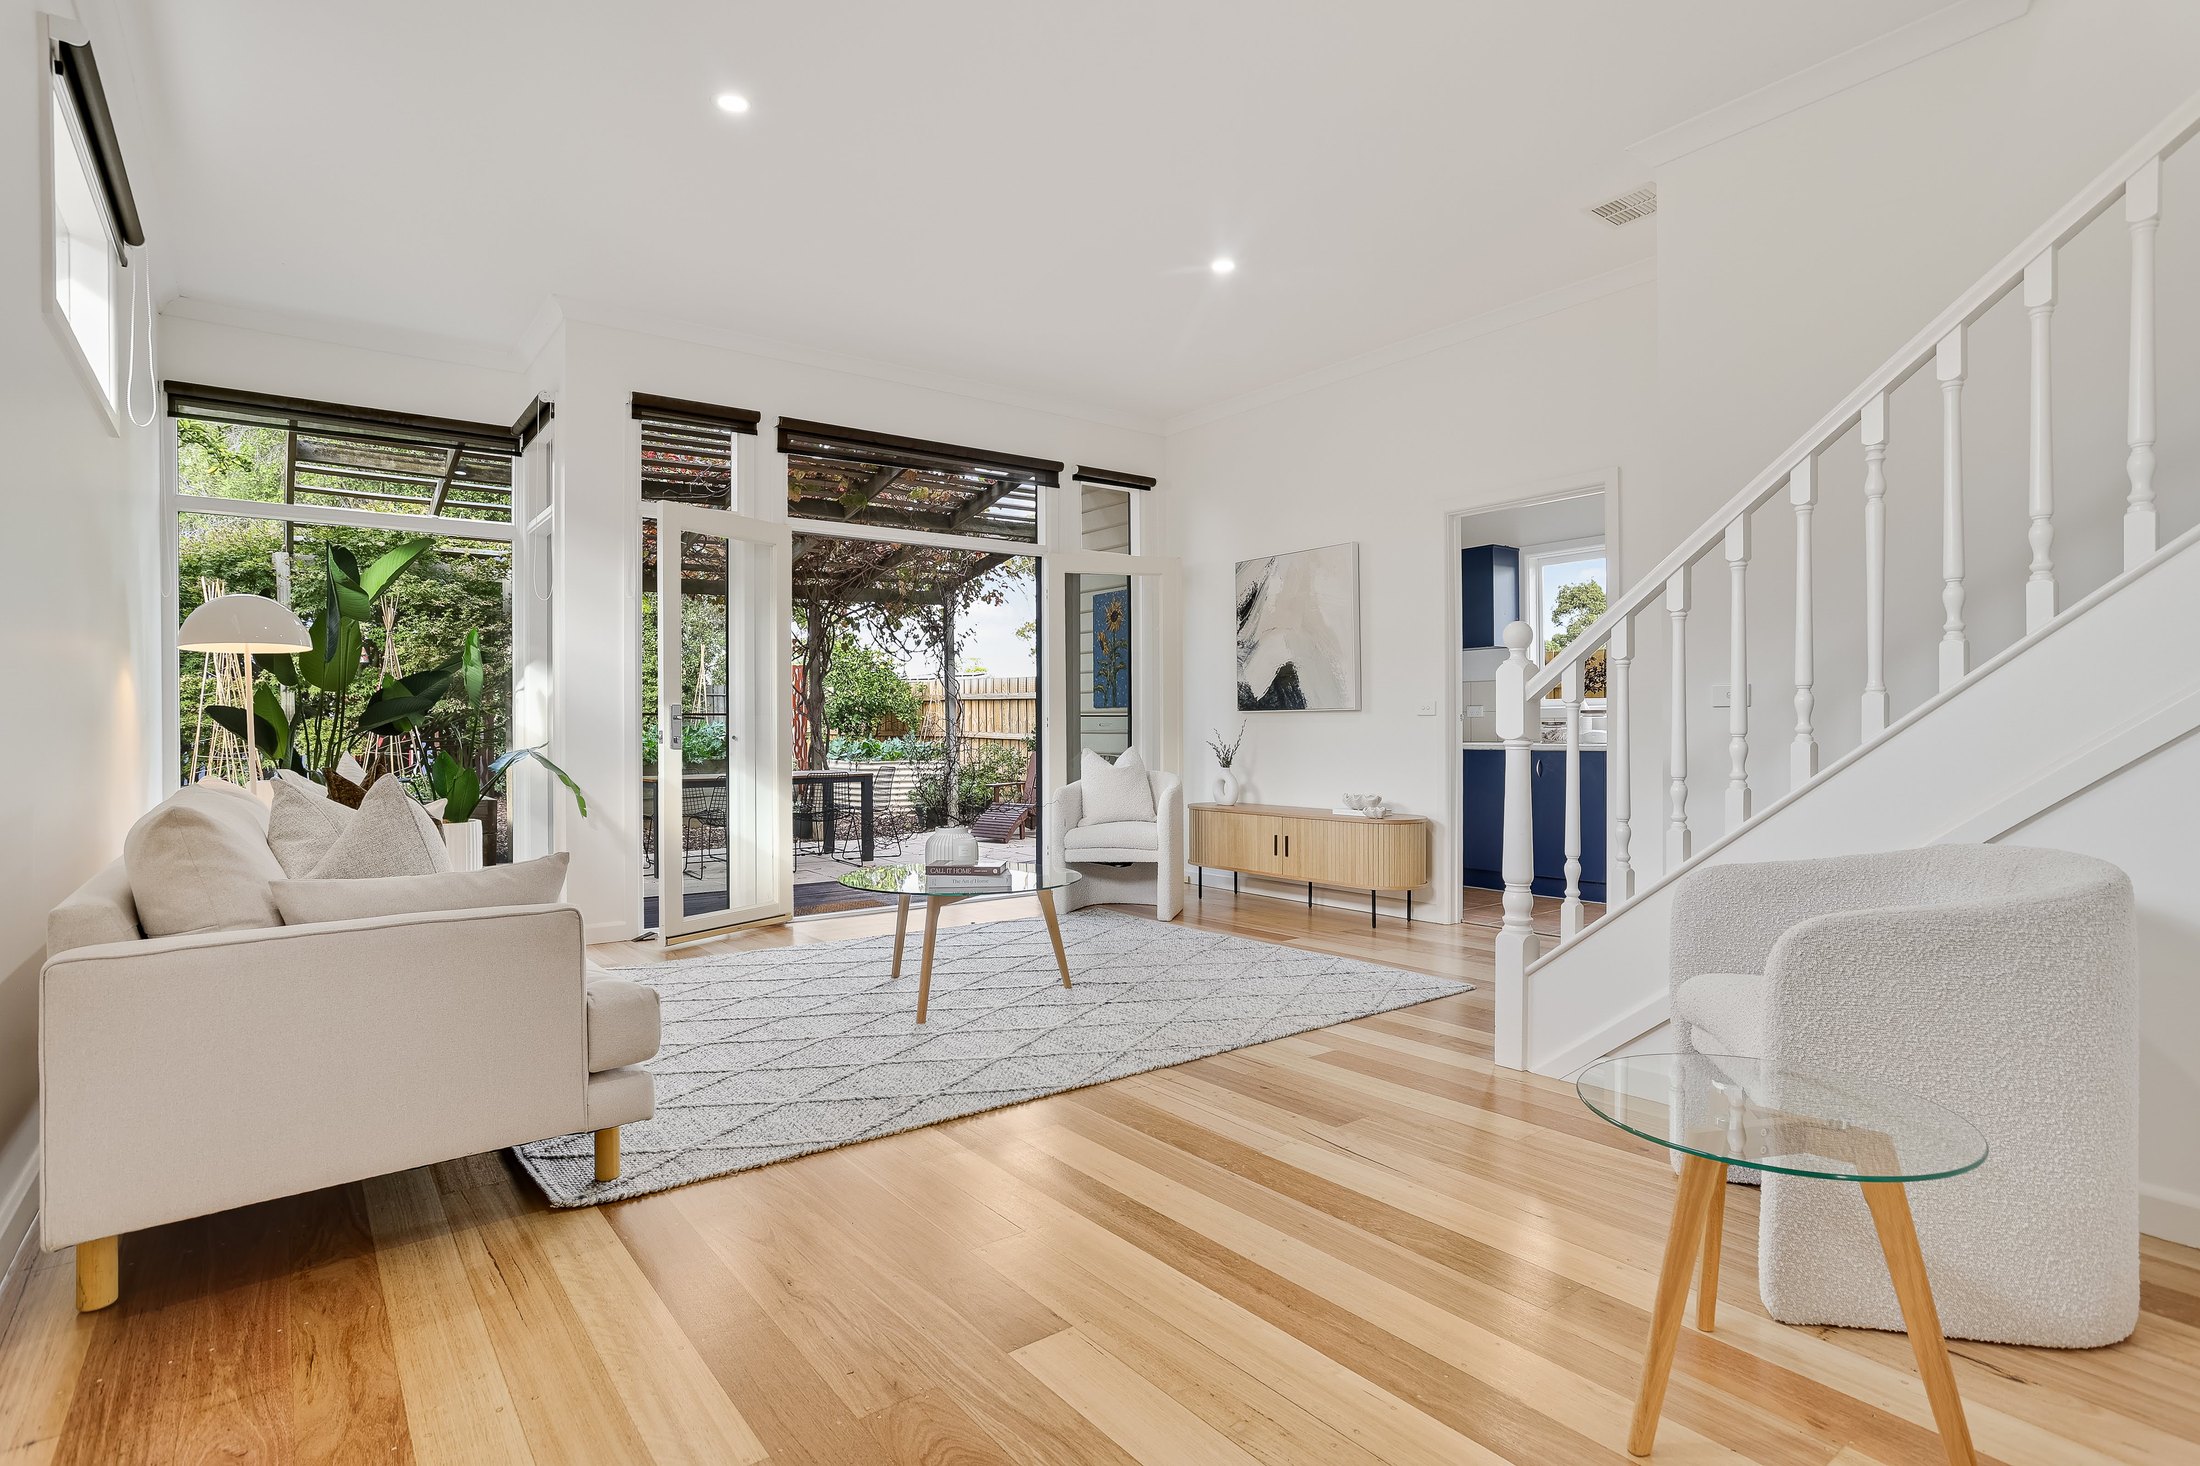
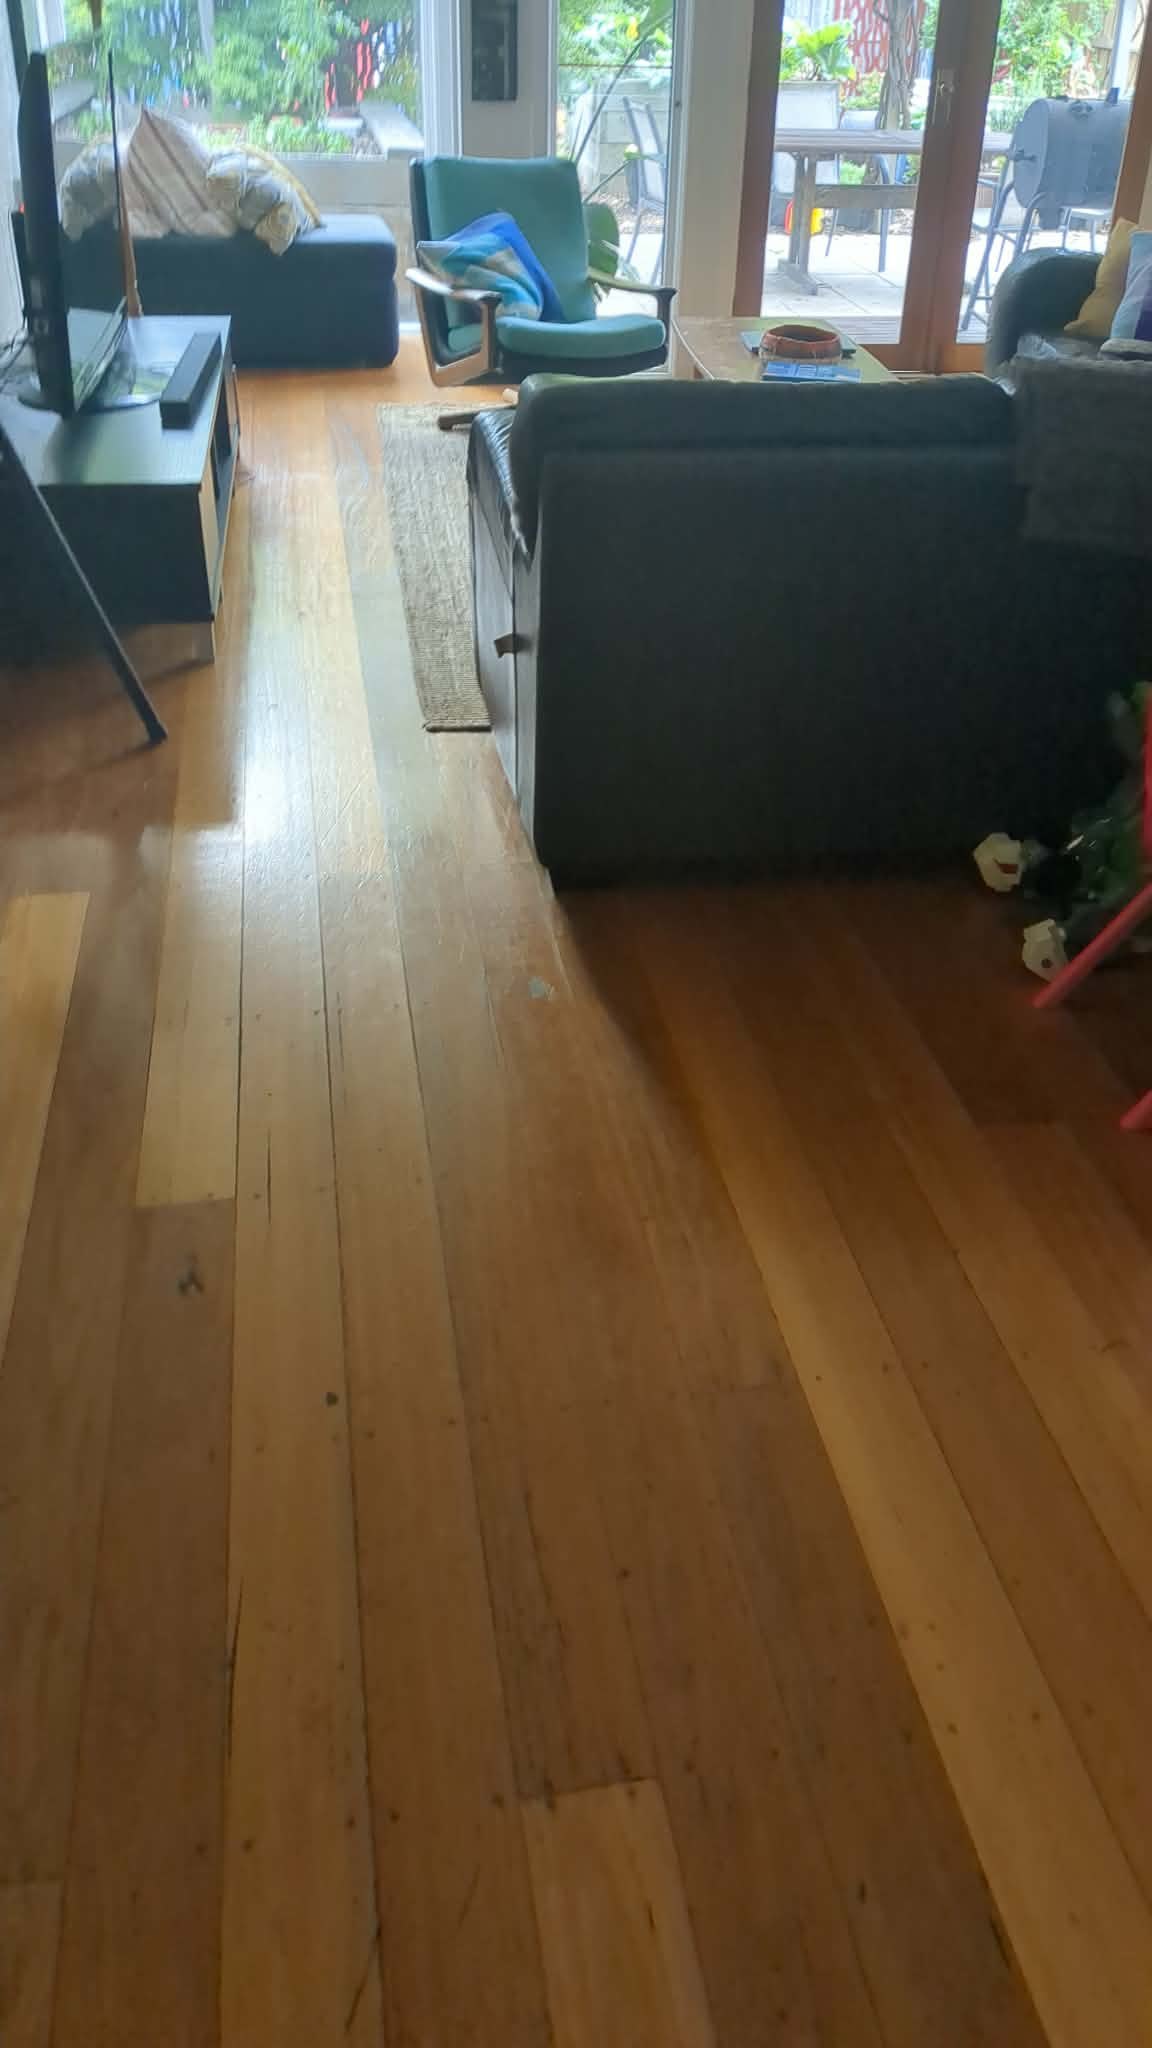
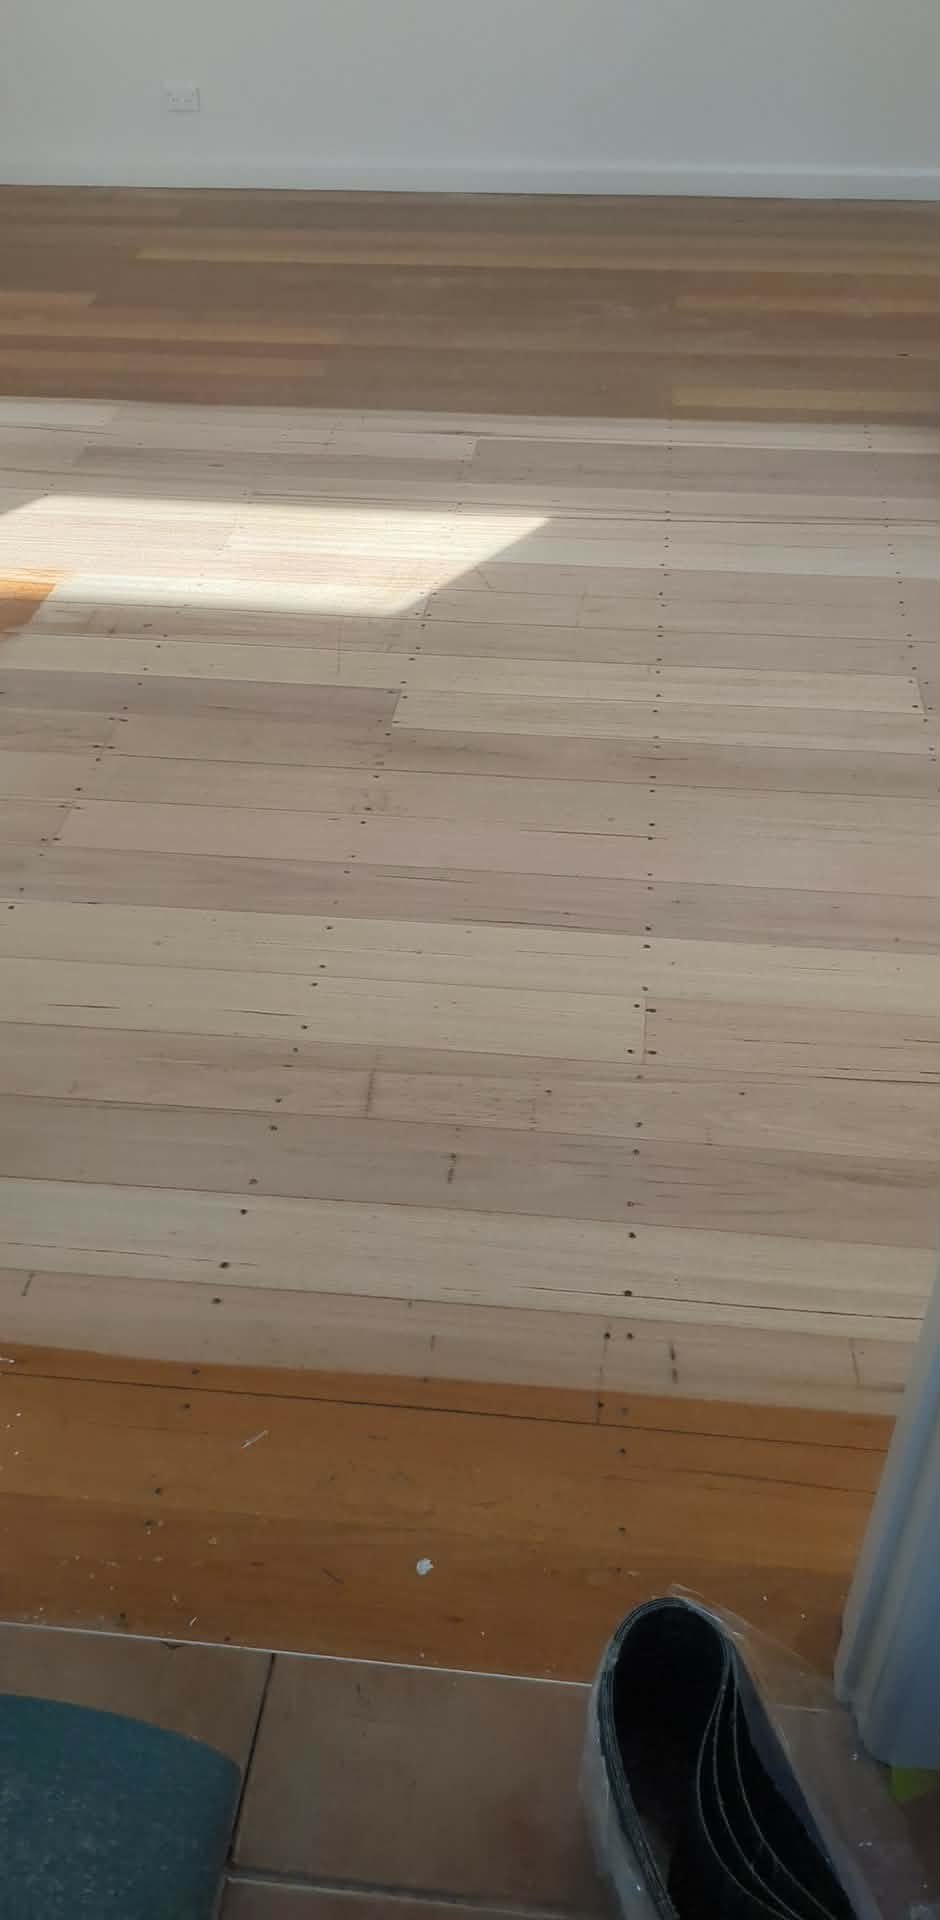
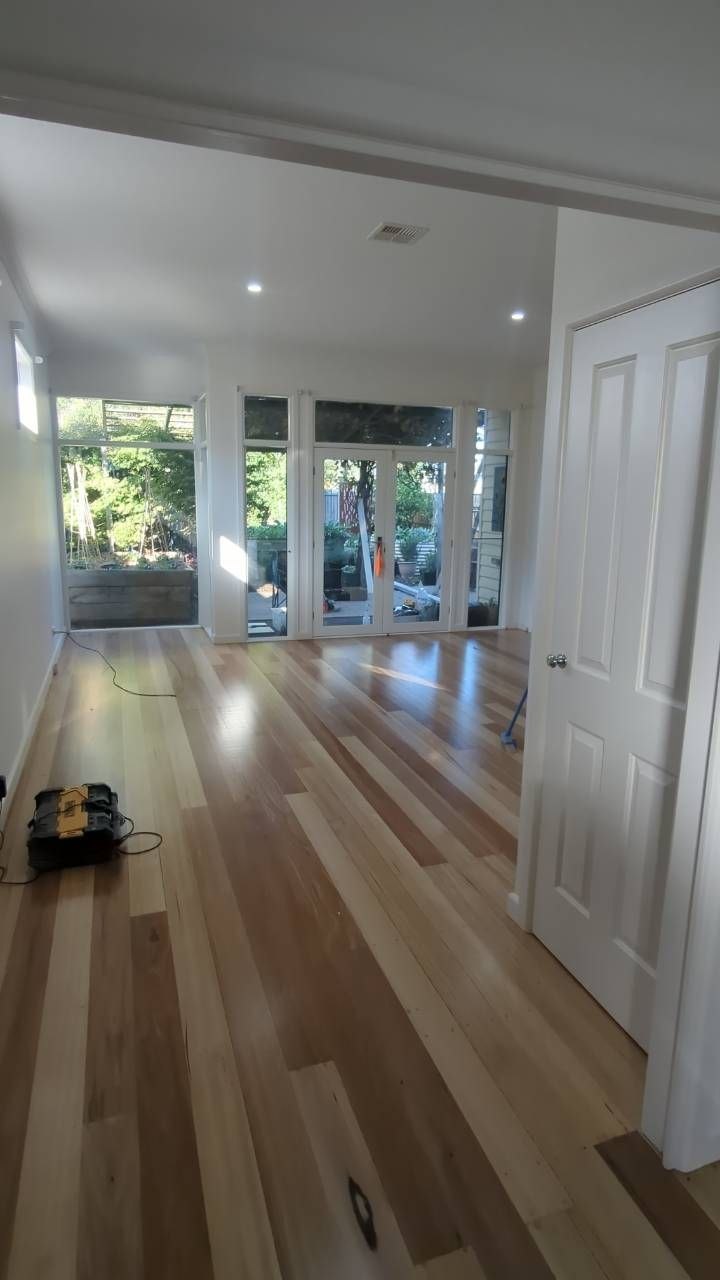
The existing hardwood floors were sanded back through progressive grits to remove the old, ambered coating and the wear patterns of decades of foot traffic. A clear natural finish was then applied — deliberately chosen over a stain.
Why a natural finish
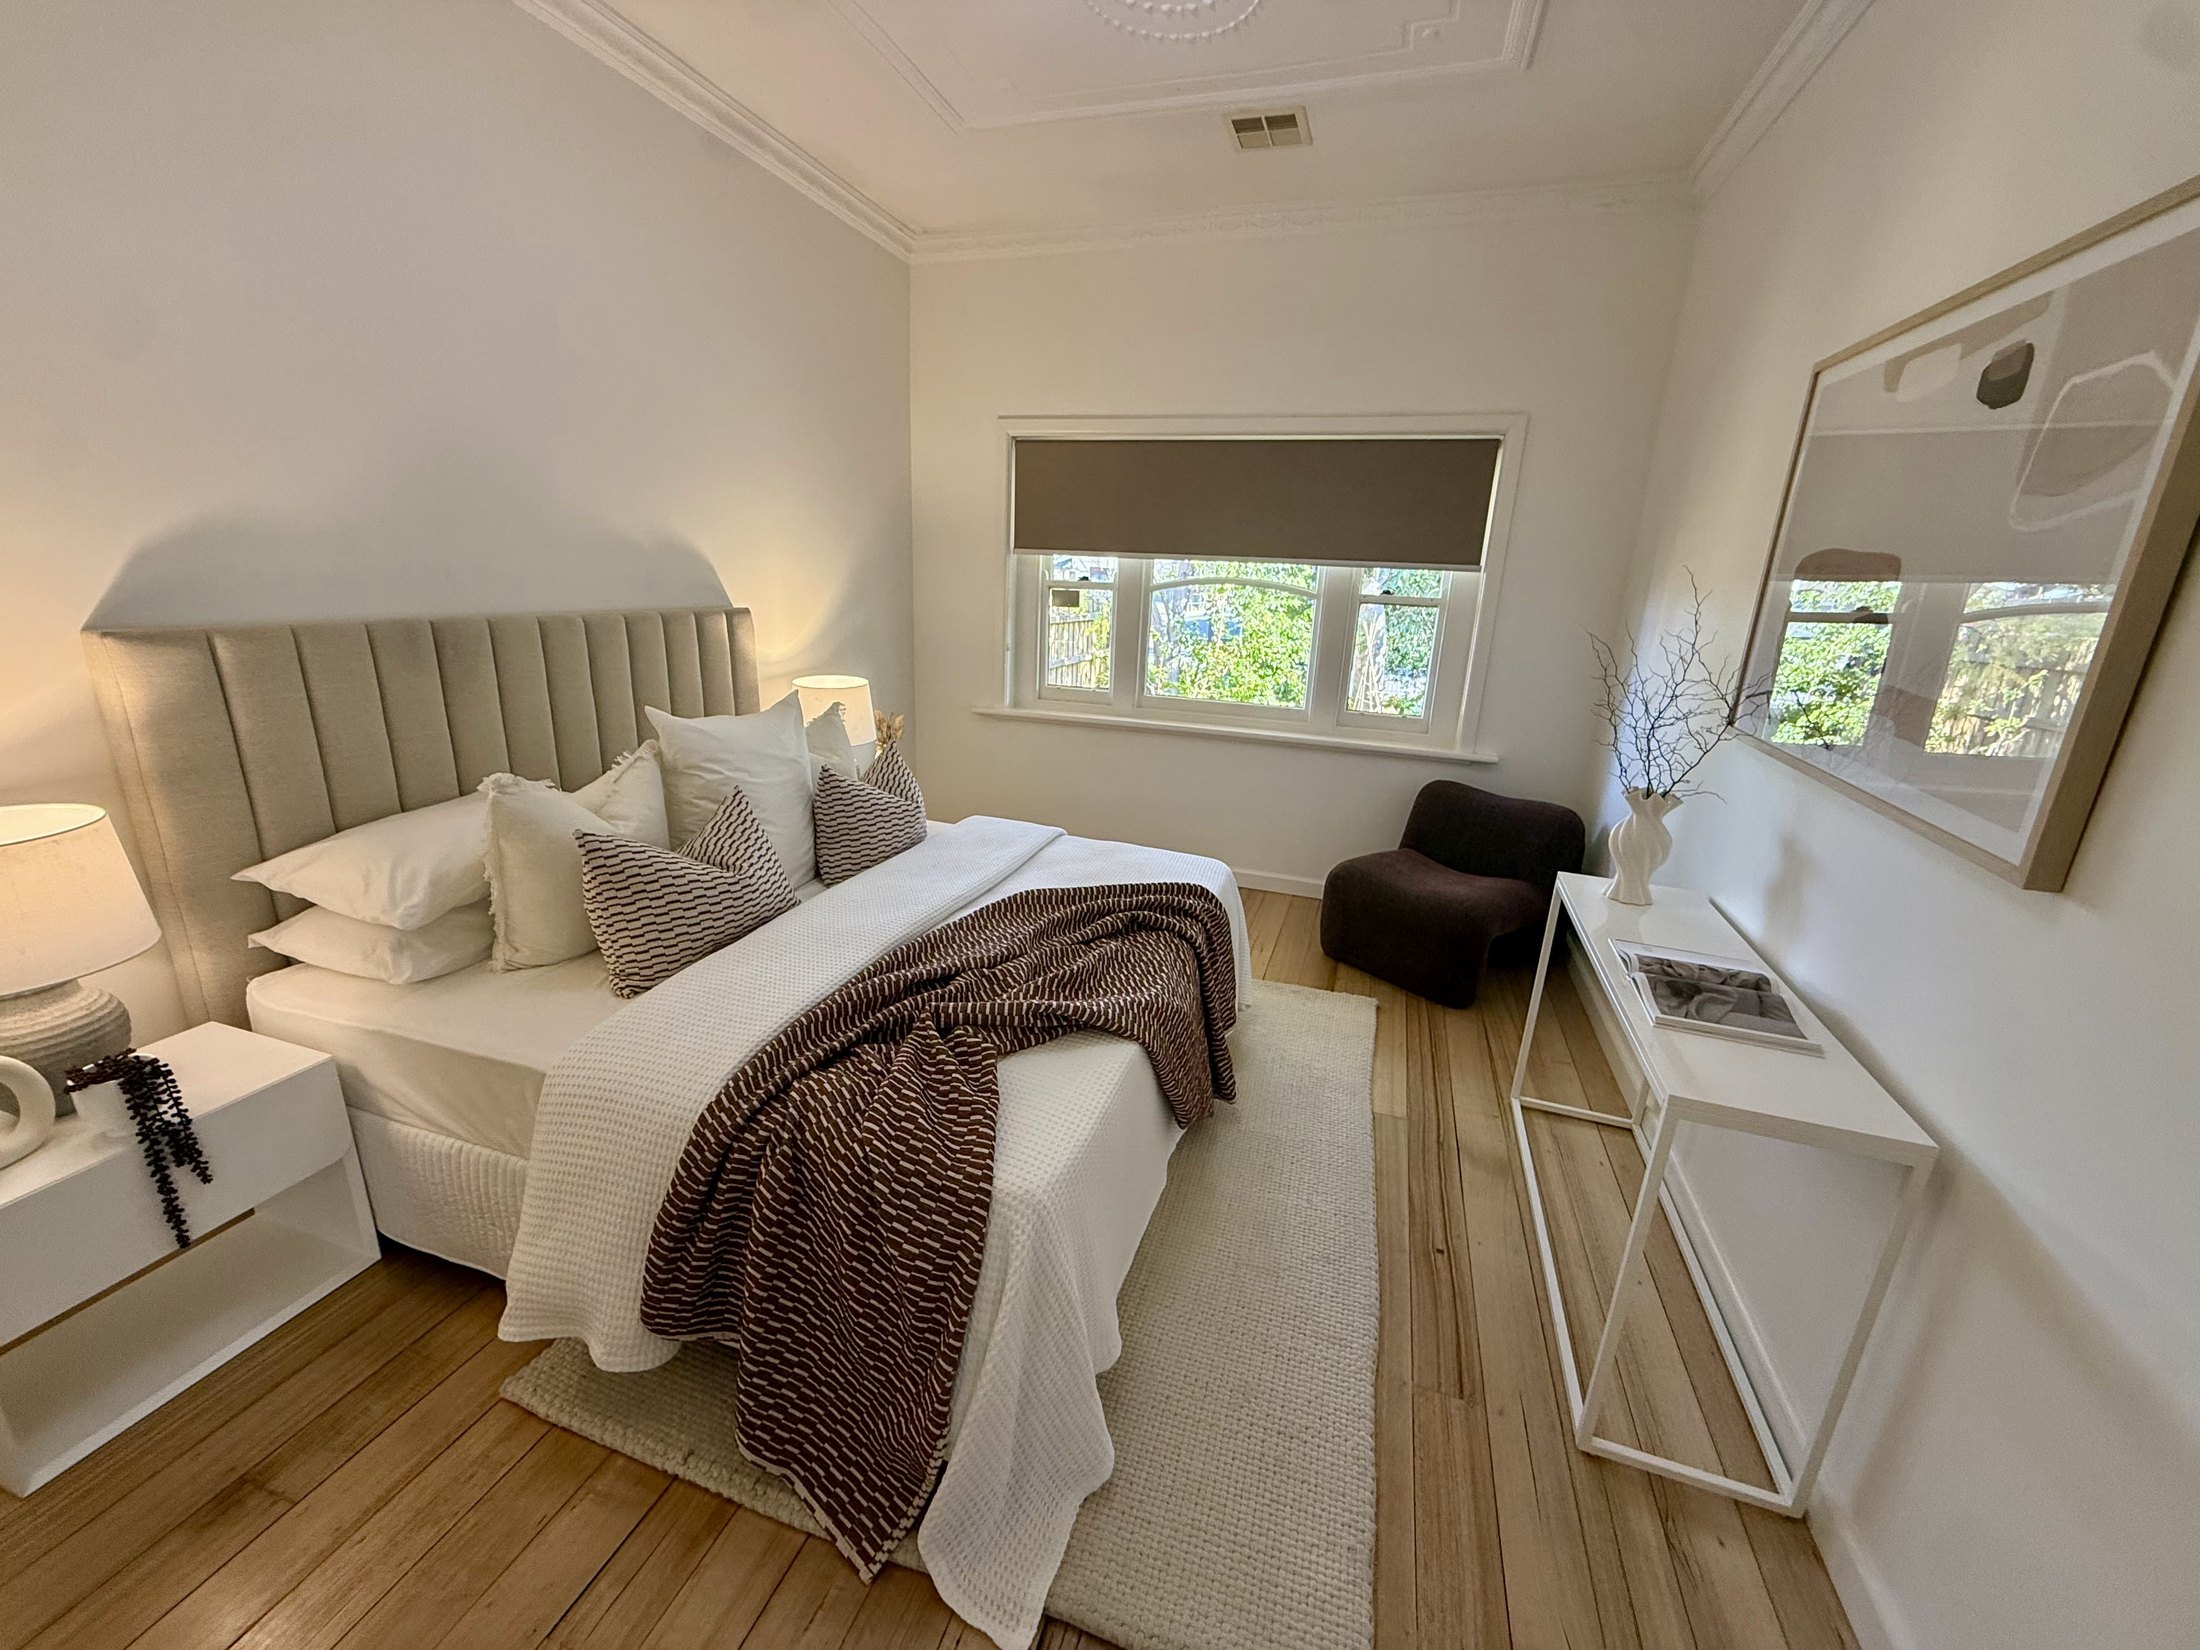
- Keeps the original grain, colour variation and board character visible
- Reads as an original, well-kept floor rather than a resurfaced one
- Sits comfortably with the timber joinery and enamel trim throughout
- Brightens rooms rather than darkening them — valuable in listing photography
- Scheduled last, after paint work, to protect the new finish
How it ran
Project management
Eight distinct workstreams, one deadline. What made this project work was not any single trade — it was the sequence. Repairs before coatings. Wet trades before finish coats. Floors last. Every stage scheduled backwards from the agent’s photography date, with contingency built in for Melbourne weather and drying times.
Phase 01
Site walkthrough & scope
Full inspection with the owners, condition notes on every elevation and room, scope agreed against the listing date.
Phase 02
Repairs & carpentry
Weatherboard, window and door repairs completed first so every coating goes onto sound, stable timber.
Phase 03
Preparation
Wash down, scrape, fill, sand, spot-prime and mask — inside and out.
Phase 04
Painting
Exterior and interior coating systems applied in sequence, oil-based enamel to all timberwork.
Phase 05
Bathroom, concrete & paving
New vanity installed, concrete coated, tired path replaced with bluestone steppers.
Phase 06
Floors & final detailing
Hardwood floors sanded and finished last, followed by a full detail and handover walkthrough.
Scheduling
A written programme the owners could plan their move around, updated as stages completed.
Communication
One point of contact for every trade, with progress confirmed at the end of each stage.
Attention to detail
Each stage checked and signed off before the next began — no work buried over an unfinished surface.
Outcome
The result
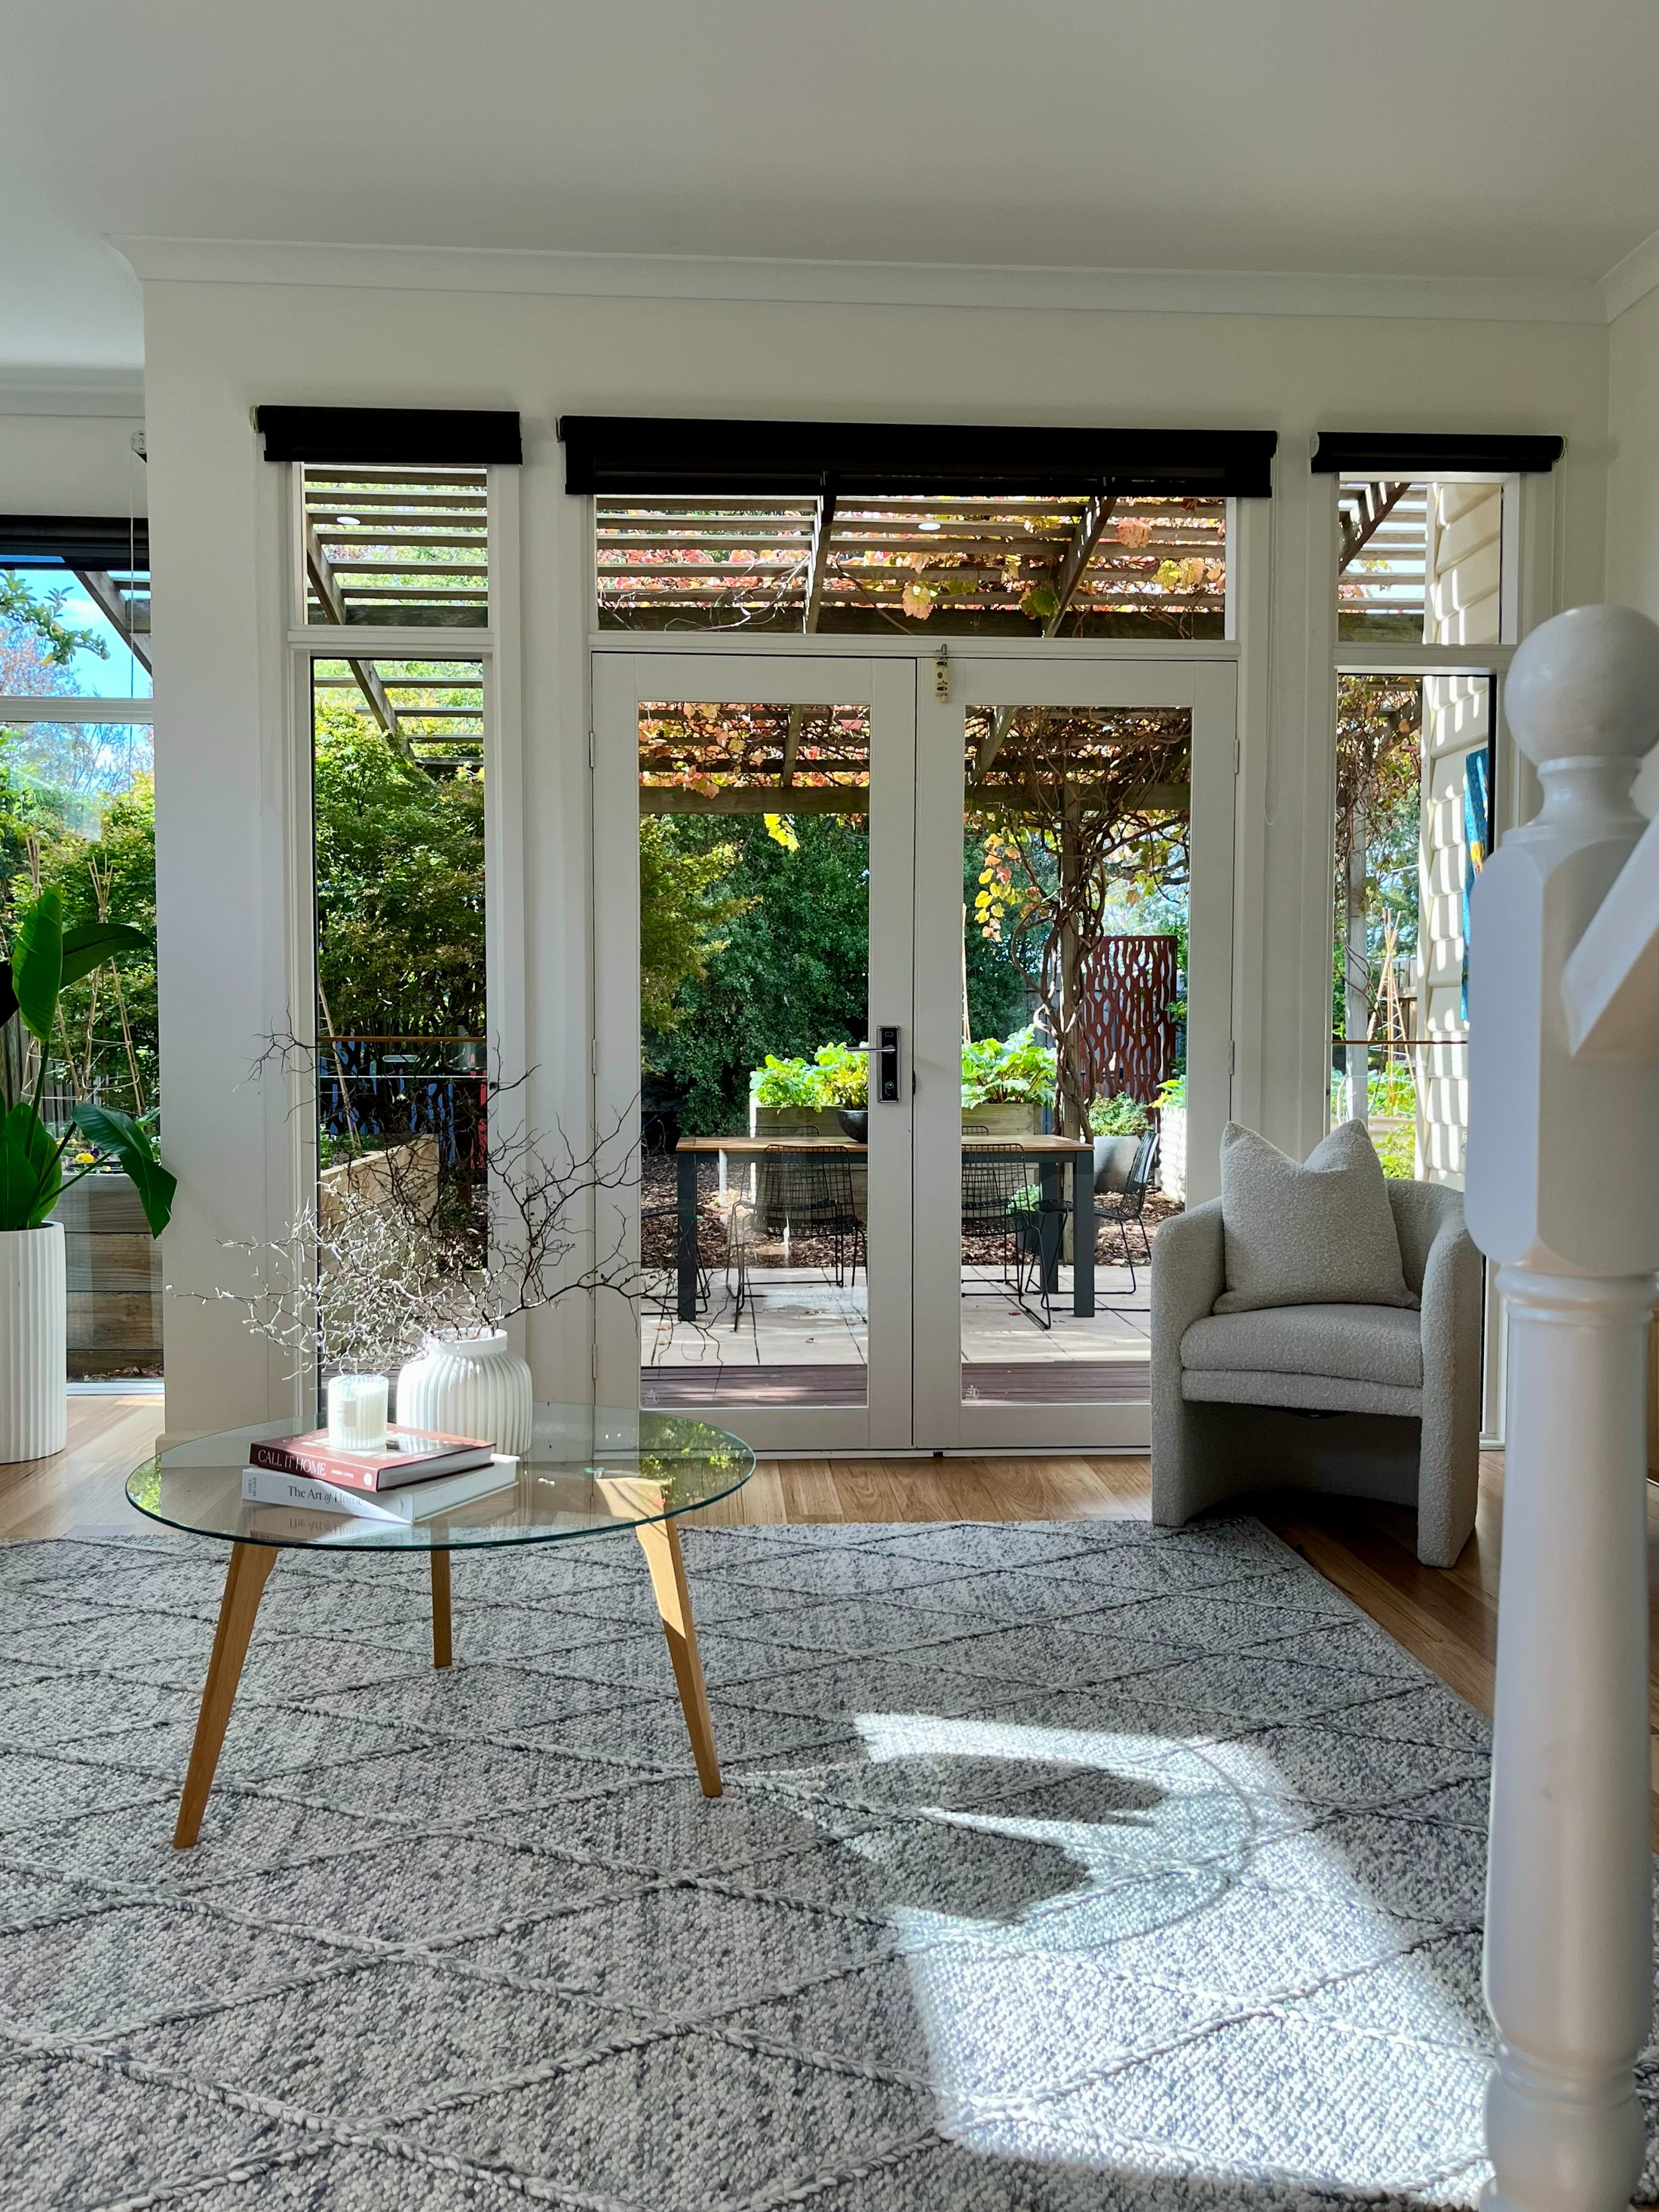
The finished home presents as one considered whole rather than a series of separate jobs. The exterior is sound and evenly coated, windows and doors operate as they should, and the hardware matches from the front door through to the last bedroom. Inside, ceilings, walls and timberwork carry a consistent, unmarked finish, and the sanded hardwood floors run through the home as its strongest original feature.
The bluestone approach and re-coated concrete complete the picture from the street. The property was successfully prepared for market and listed on schedule, presenting to buyers as a home that has been consistently cared for — which, for this family, it always had been.
Client feedback
Customer review
Rebecca Nyler
Newport, VIC
"Scott was fantastic to deal with from quoting all the way to completion of the work. He was responsive, clear and his work was to a very high standard. We can't recommend him more highly"
Photography
Project gallery
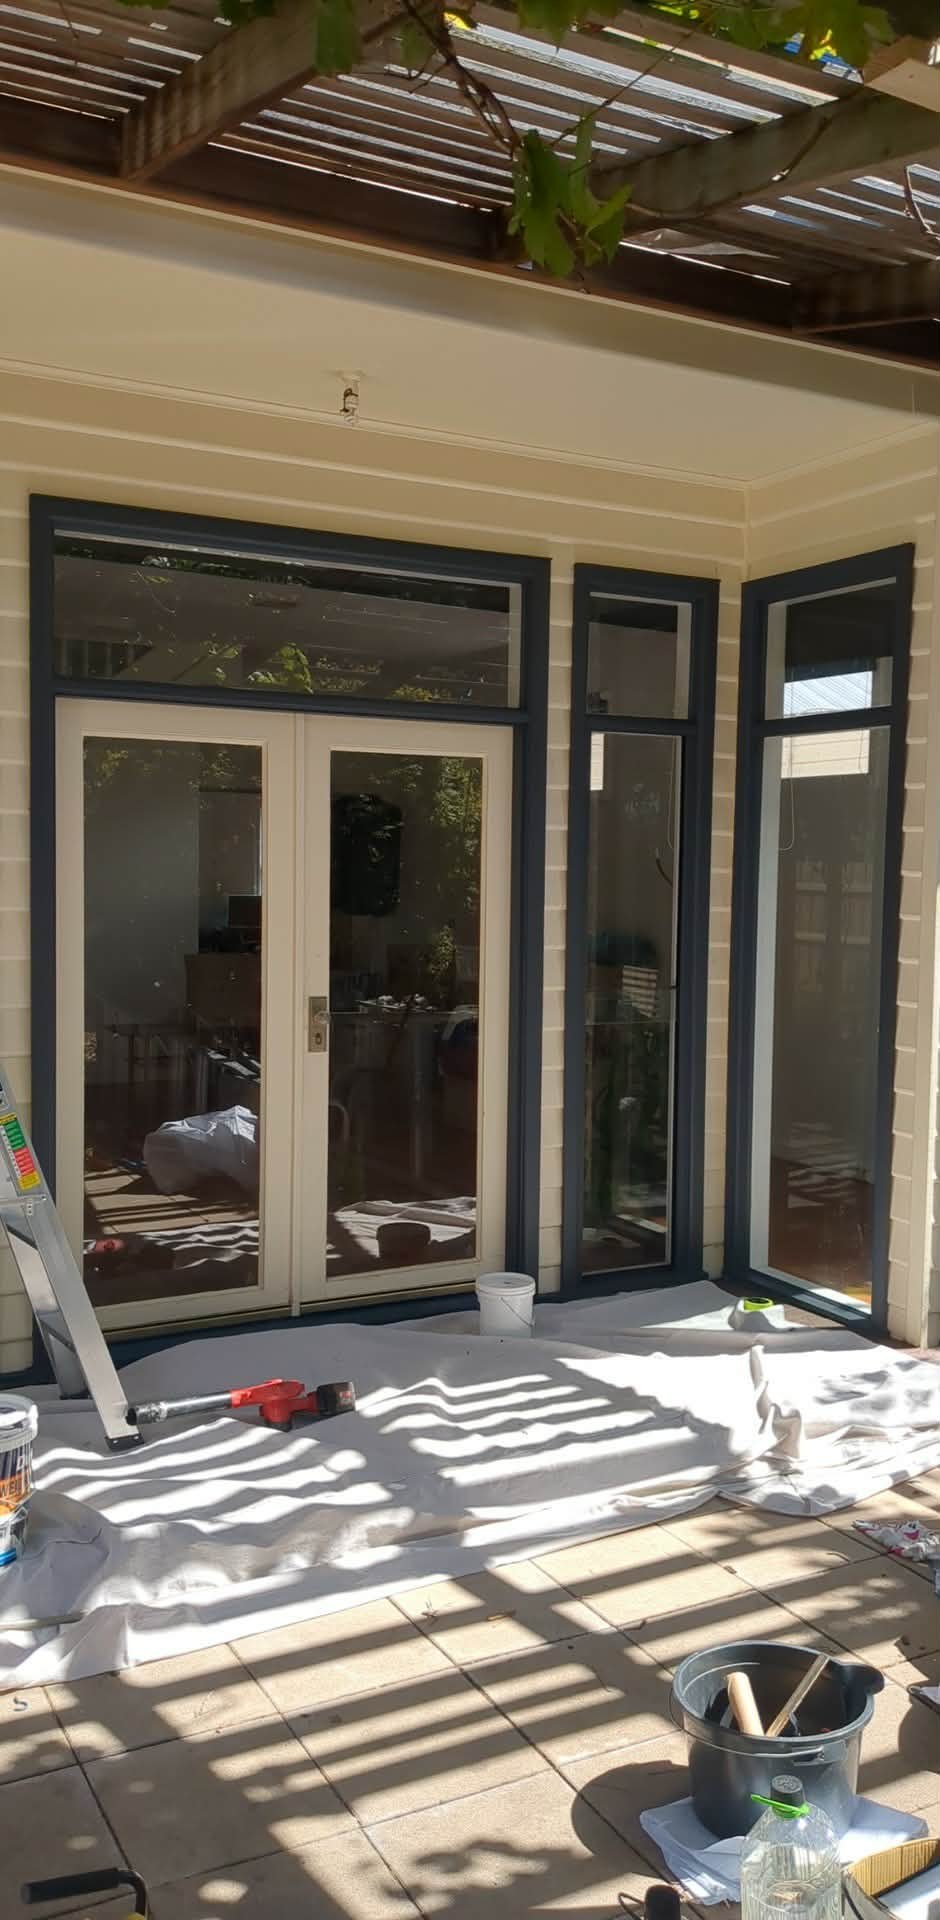
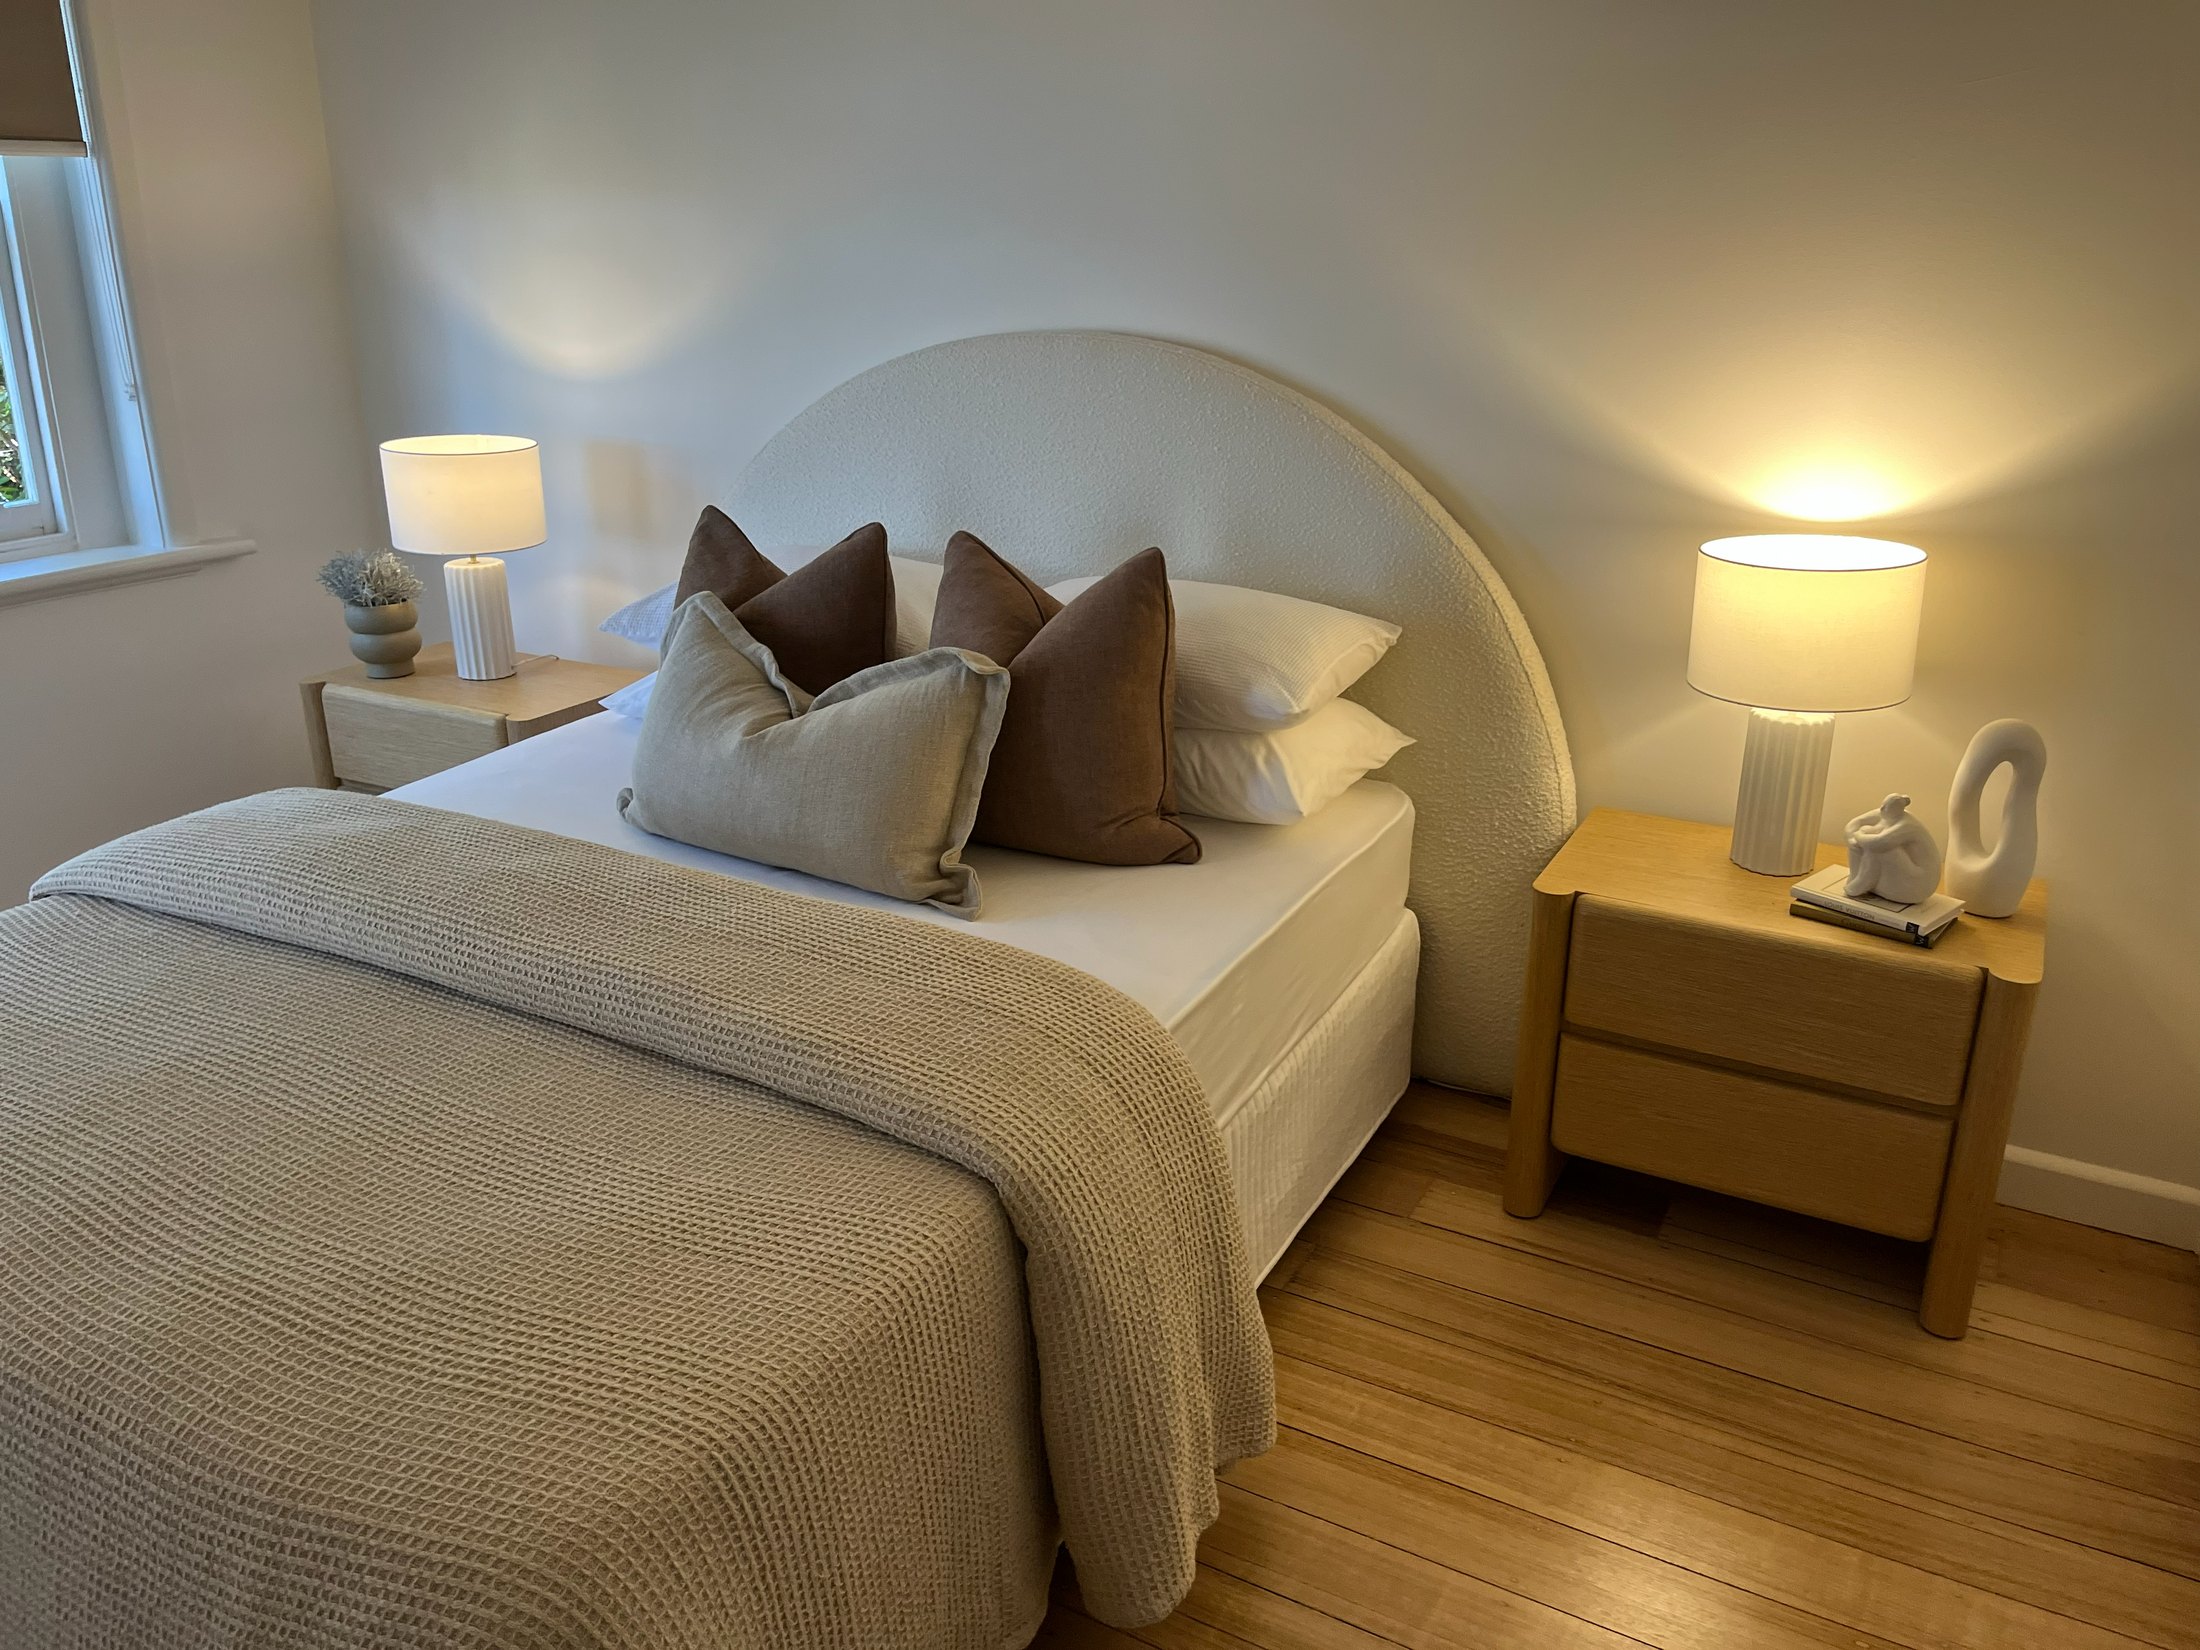
Further photography from the project — the home before works began, the trades underway, and the finished rooms. Select any image to view it larger.
Questions
Project FAQs
The works were staged over several consecutive weeks and finished inside the deadline set by the owners’ agent, so the property could be photographed and listed on schedule. Exact duration varies with weather, drying times and the amount of timber repair uncovered during preparation.
Written by
Melbourne Maintenance and Repairs
Family operated, with over 20 years of hands-on experience in painting, plastering, carpentry and property restoration across Melbourne. Every case study is written from our own site notes on jobs we have completed.
12 min read · Last updated 6 August 2026
Related services
We work across the inner west regularly — see our Newport property maintenance page for the full range of local services, or the pre-sale restoration service behind this project.
Related knowledge articles
DIY Plaster Crack Repair: When to Fix vs Call a Pro
How we assess cracks before filling, and which ones need more than filler.
Heritage Painting Techniques for Older Melbourne Homes
Paint systems and preparation that suit weatherboard and period timberwork.
Water Damage Ceiling Signs Melbourne Homeowners Miss
What to check before repainting ceilings in an older home.